Welcome to my blog of Synth & Audio Coding

M-VAVE SMK25II + Raspberry Pi: C++ Synth, Sampler & Looper 🎹💻

After the first experiments with the M-VAVE SMK25II, I had already written a synth prototype in Python. It worked, but for this kind of real-time MIDI use I noticed too much latency: the delay between pressing a key and hearing the sound made the keyboard feel less reactive than I wanted.

For this reason I moved the project to C++. Python normally adds more runtime overhead, while C++ is compiled to native machine code and gives more direct control over timing, memory and audio buffers. This makes it more suitable for low-latency audio processing on the Raspberry Pi.

The current C++ project turns the Raspberry Pi into a custom synth, WAV sampler and looper for the M-VAVE SMK25II, connected through Bluetooth MIDI.

The current version includes 16 internal synth instruments, experimental 8-bit sounds, a dedicated WAV Sample Kit, custom sample mapping through map.txt, gate / oneshot / loop playback modes, individual sample volume, 7 independent loop tracks and direct stereo recording of the final mix.

One of the more interesting functions is sample-position recording: if a long WAV is already playing when loop recording starts, the software can remember the current playback position instead of always restarting the sample from the beginning.

The first C++ version was written with the help of AI, but many parts were reviewed, tested and modified several times on real hardware to fix bugs and improve MIDI handling, WAV playback, looper behavior, recording and the 8-bit effects.

More technical details, source code and configuration examples are available on GitHub: Synth-Mvave_SMK25II .

This Raspberry Pi version is only the first step. New custom projects are also planned for Windows desktop computers and Android devices.
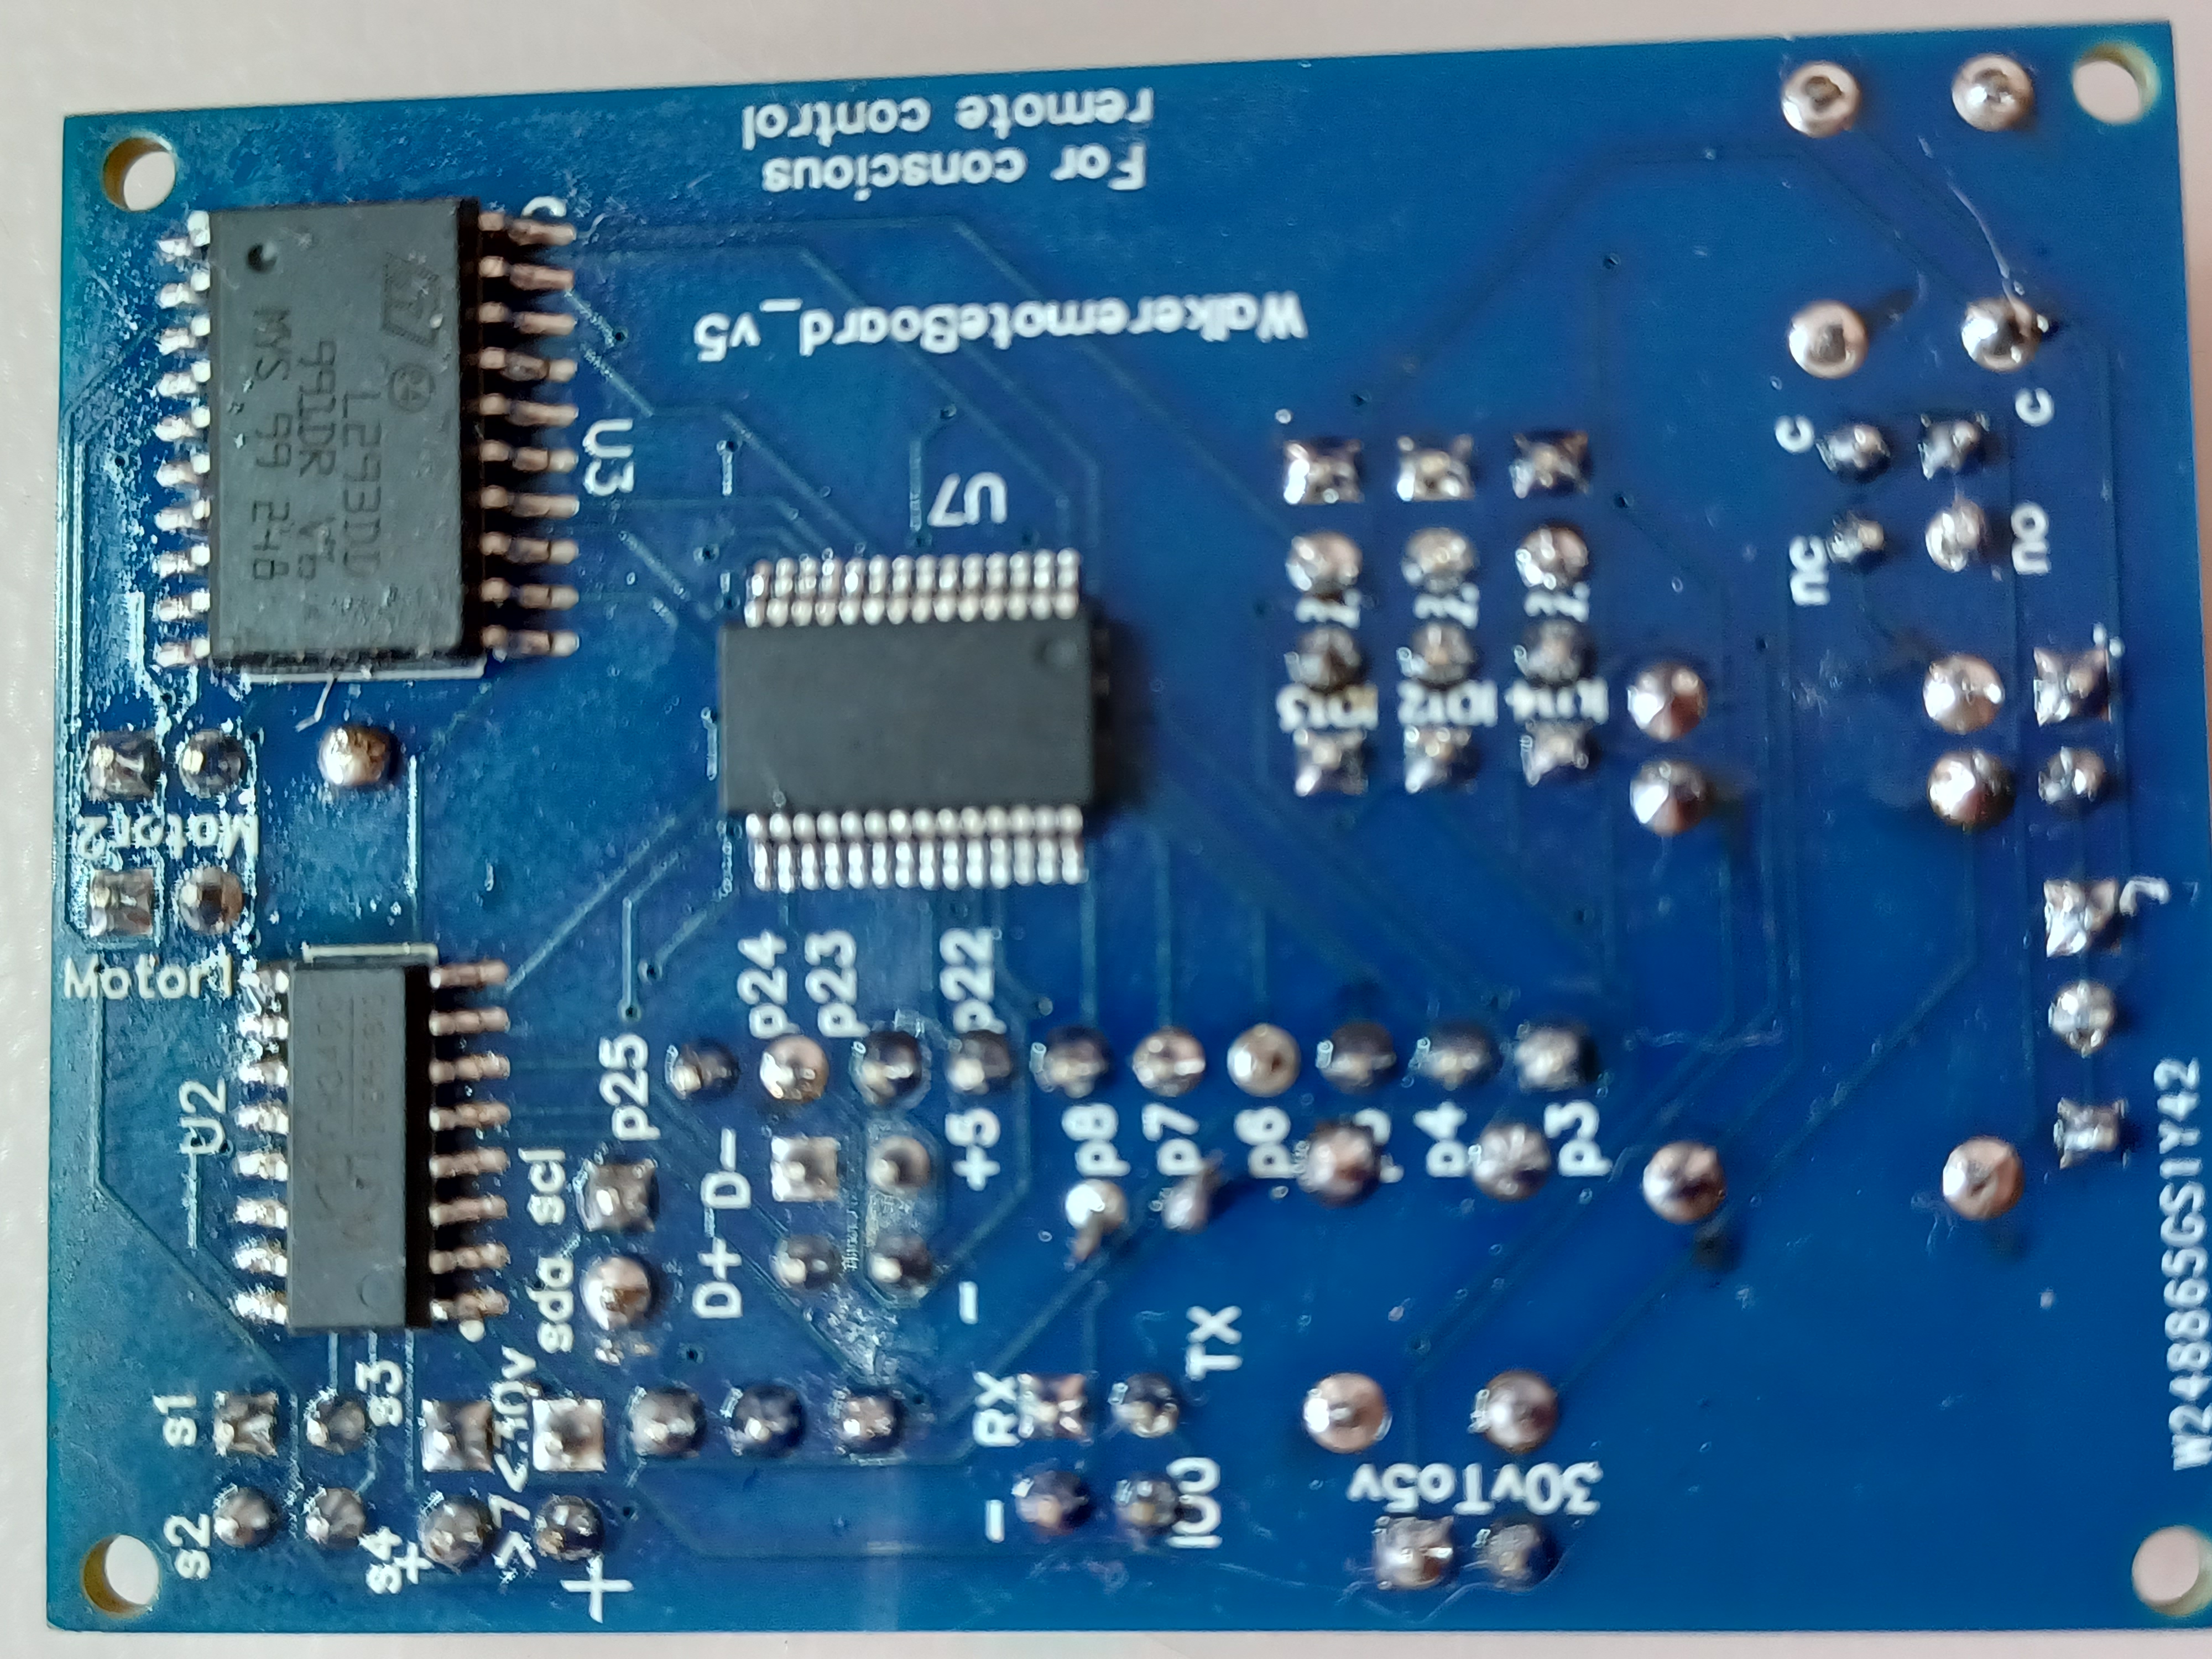
WalkerRemoteBoard Rev5 as a Synth 🎹🎛️⚡

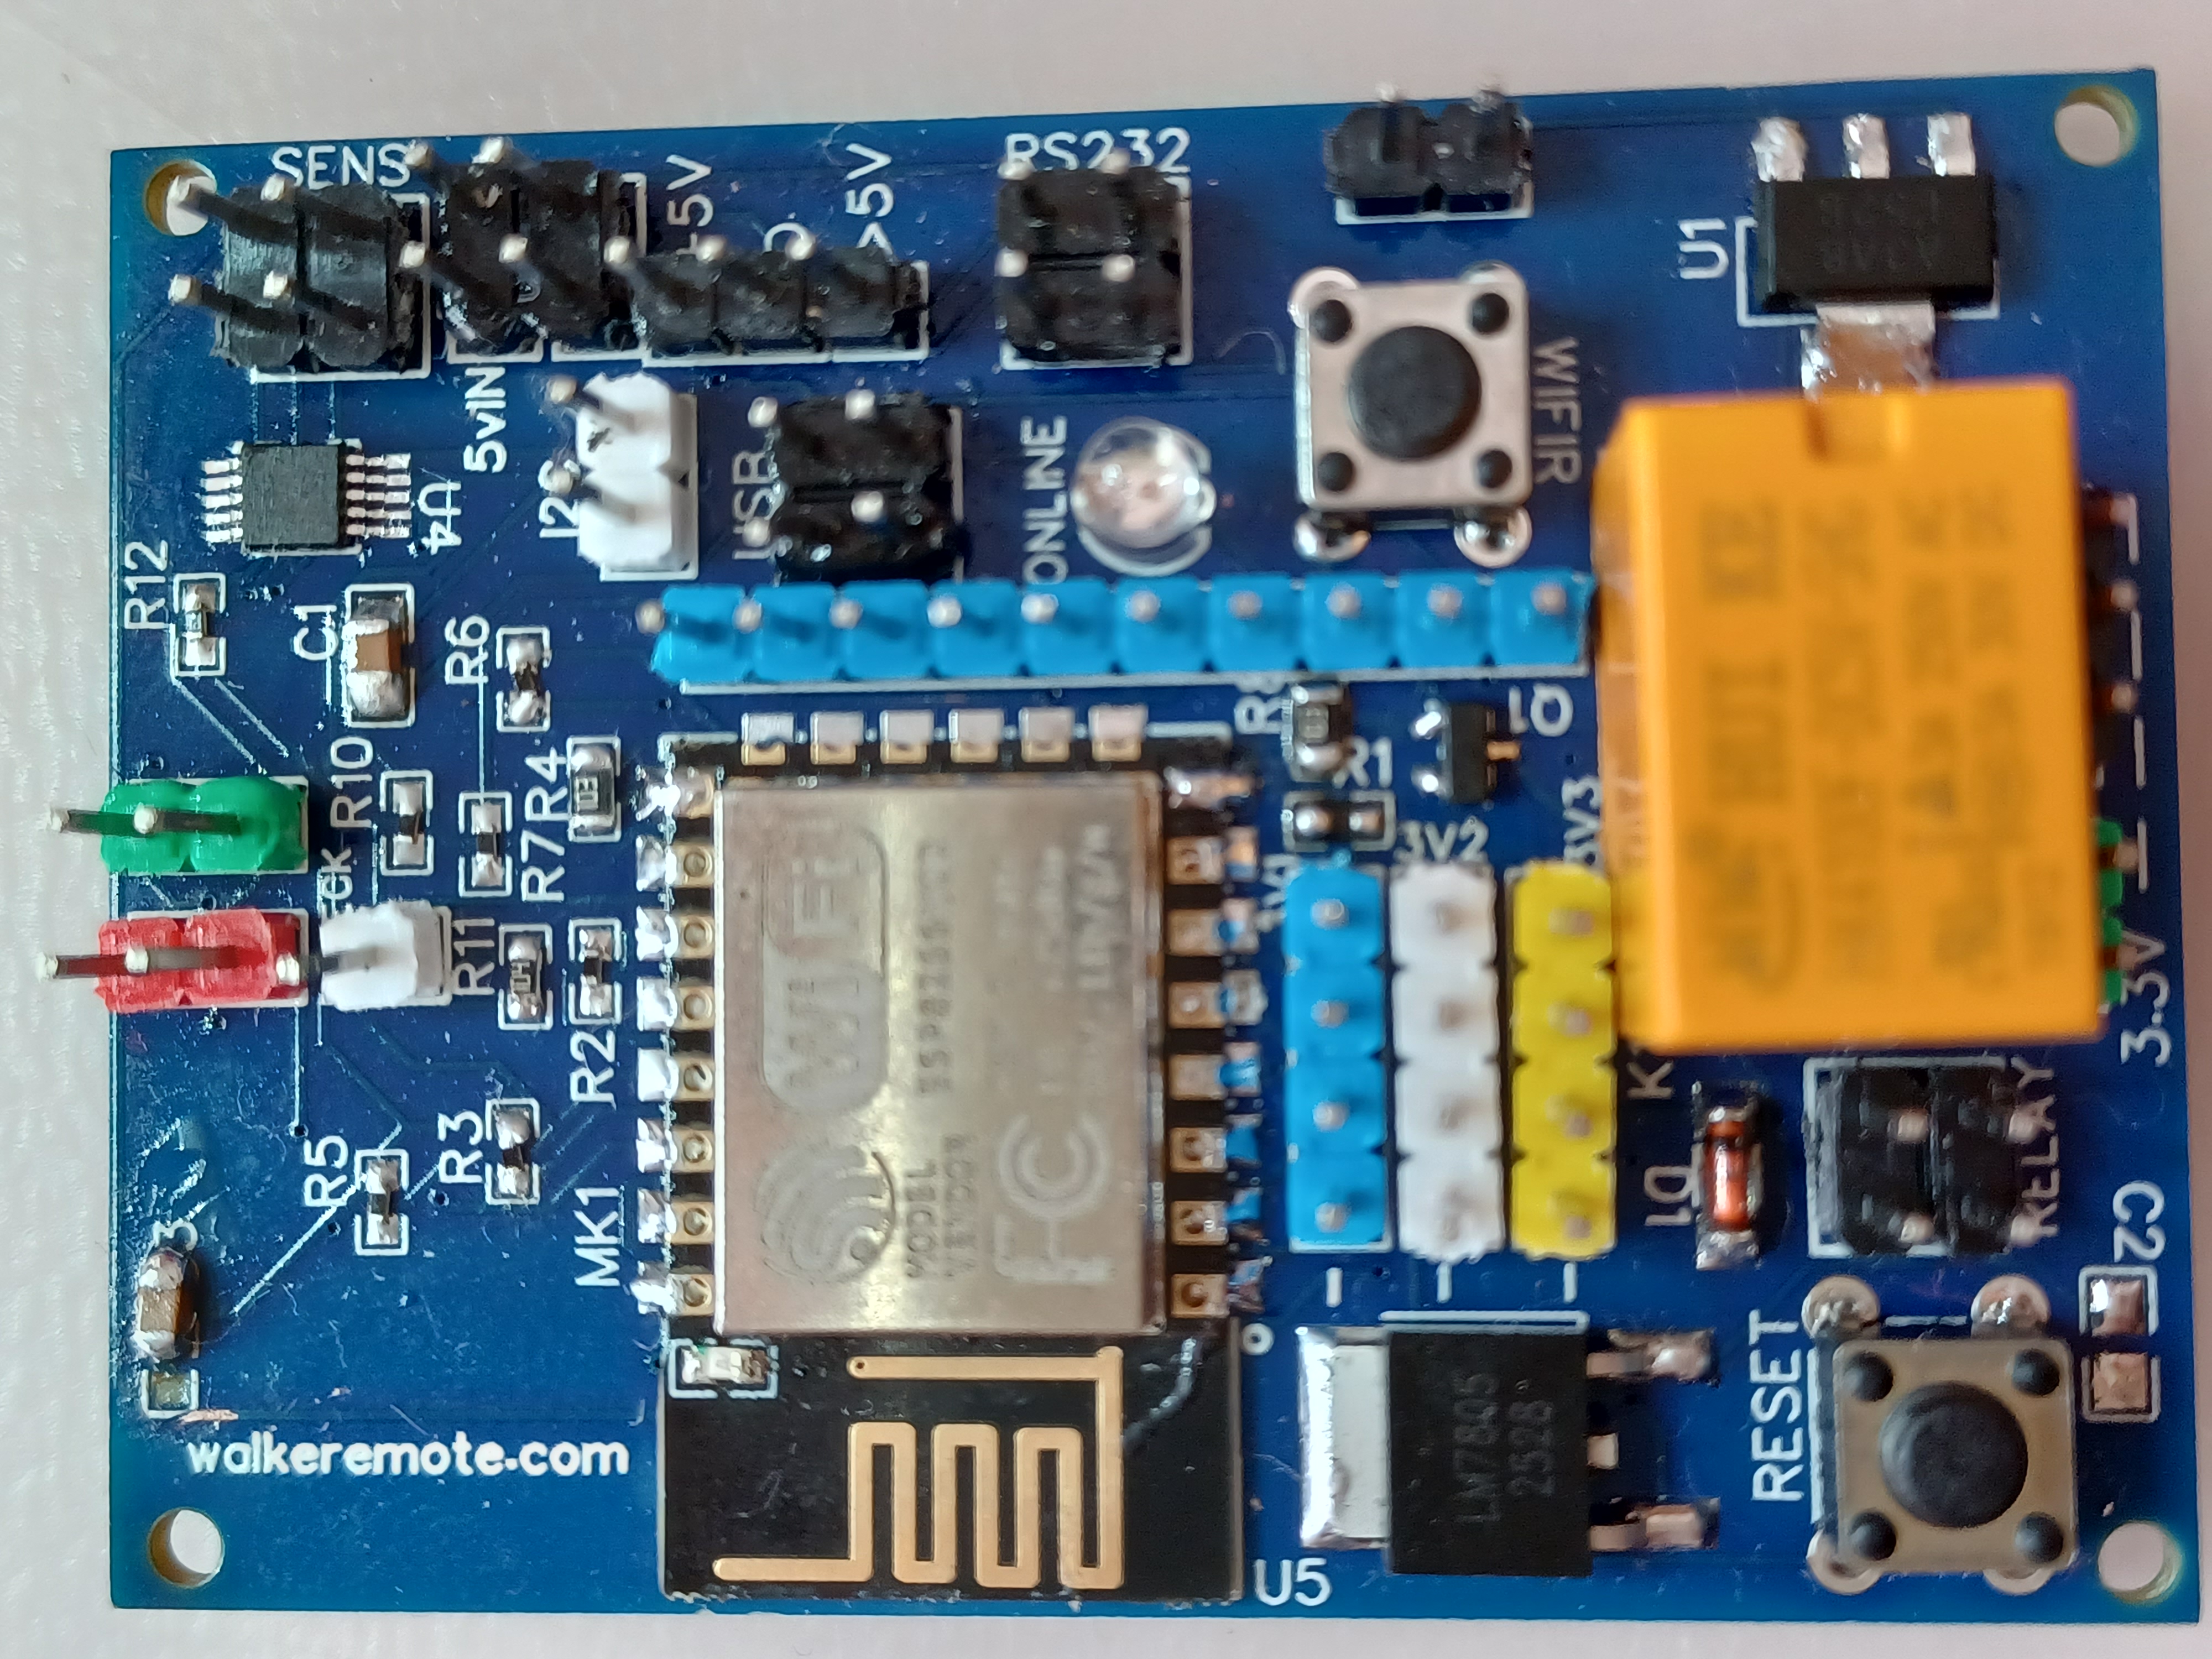
WalkerRemoteBoard Rev5 front side WalkerRemoteBoard Rev5 bottom side

The WalkerRemoteBoard Rev5 is an experimental board based on the ESP8266, which I am also testing as a small digital synth and frequency generator.

In this section, the focus is not on remote control, motors or sensors, but exclusively on sound generation, electrical frequencies and audio experiments.

The board uses the ESP8266, which integrates a 32-bit RISC Tensilica L106 processor. By uploading different sketches, the same hardware can generate different types of sounds, rhythms and effects. The final result depends entirely on the firmware running inside the ESP8266.

It is important to clarify that the ESP8266 does not include a real analog audio DAC. For this reason, the audio is not generated as a pure analog signal. Instead, the sound is produced through PWM signals on a GPIO pin, in this case GPIO14 / D5, and then sent to an external amplifier through a simple coupling stage.

This gives the sound an experimental and digital character, similar to old arcade machines, chiptune sounds and simple electronic synth effects.

With the current sketch, the WalkerRemoteBoard Rev5 can generate different audio elements in real time, such as kick drums, hi-hats, snare-like noises, bass tones, simple melodies, sirens, robotic effects and arcade-style power-up sounds.

One of the most interesting aspects of this experiment is that the same board can behave in many different ways simply by changing the code. With one sketch it can become a small drum machine, with another it can generate effects, and with another it can be used as a platform for testing frequencies.

A button connected to D0 / GPIO16 can also be used to trigger live effects while the rhythm continues to play. This makes the board more interactive and allows simple real-time sound manipulation.

In the future, it will be possible to expand this experiment further by adding potentiometers in place of the inputs normally dedicated to analog sensors. In this way, the board’s inputs can be used to modify some audio parameters in real time, for example to dampen the sound, vary the intensity of the effects, change the frequency, adjust the duration of the notes, or control other software-generated behaviours.

It will also be possible to add physical buttons to create a small musical interface. Some buttons could generate different notes, while others could trigger different sound effects already preloaded onto the board via USB and the Arduino IDE.

A dedicated repository is already available on GitHub, where I will progressively add new sketches for different effects, sounds, rhythmic patterns and ways of using the board as an experimental synth.

My idea is to equip the WalkerRemoteBoard Rev5 with buttons and potentiometers, gradually transforming it into something closer to a small experimental retro synth, while still maintaining the simplicity and raw style of the project. Github Repo

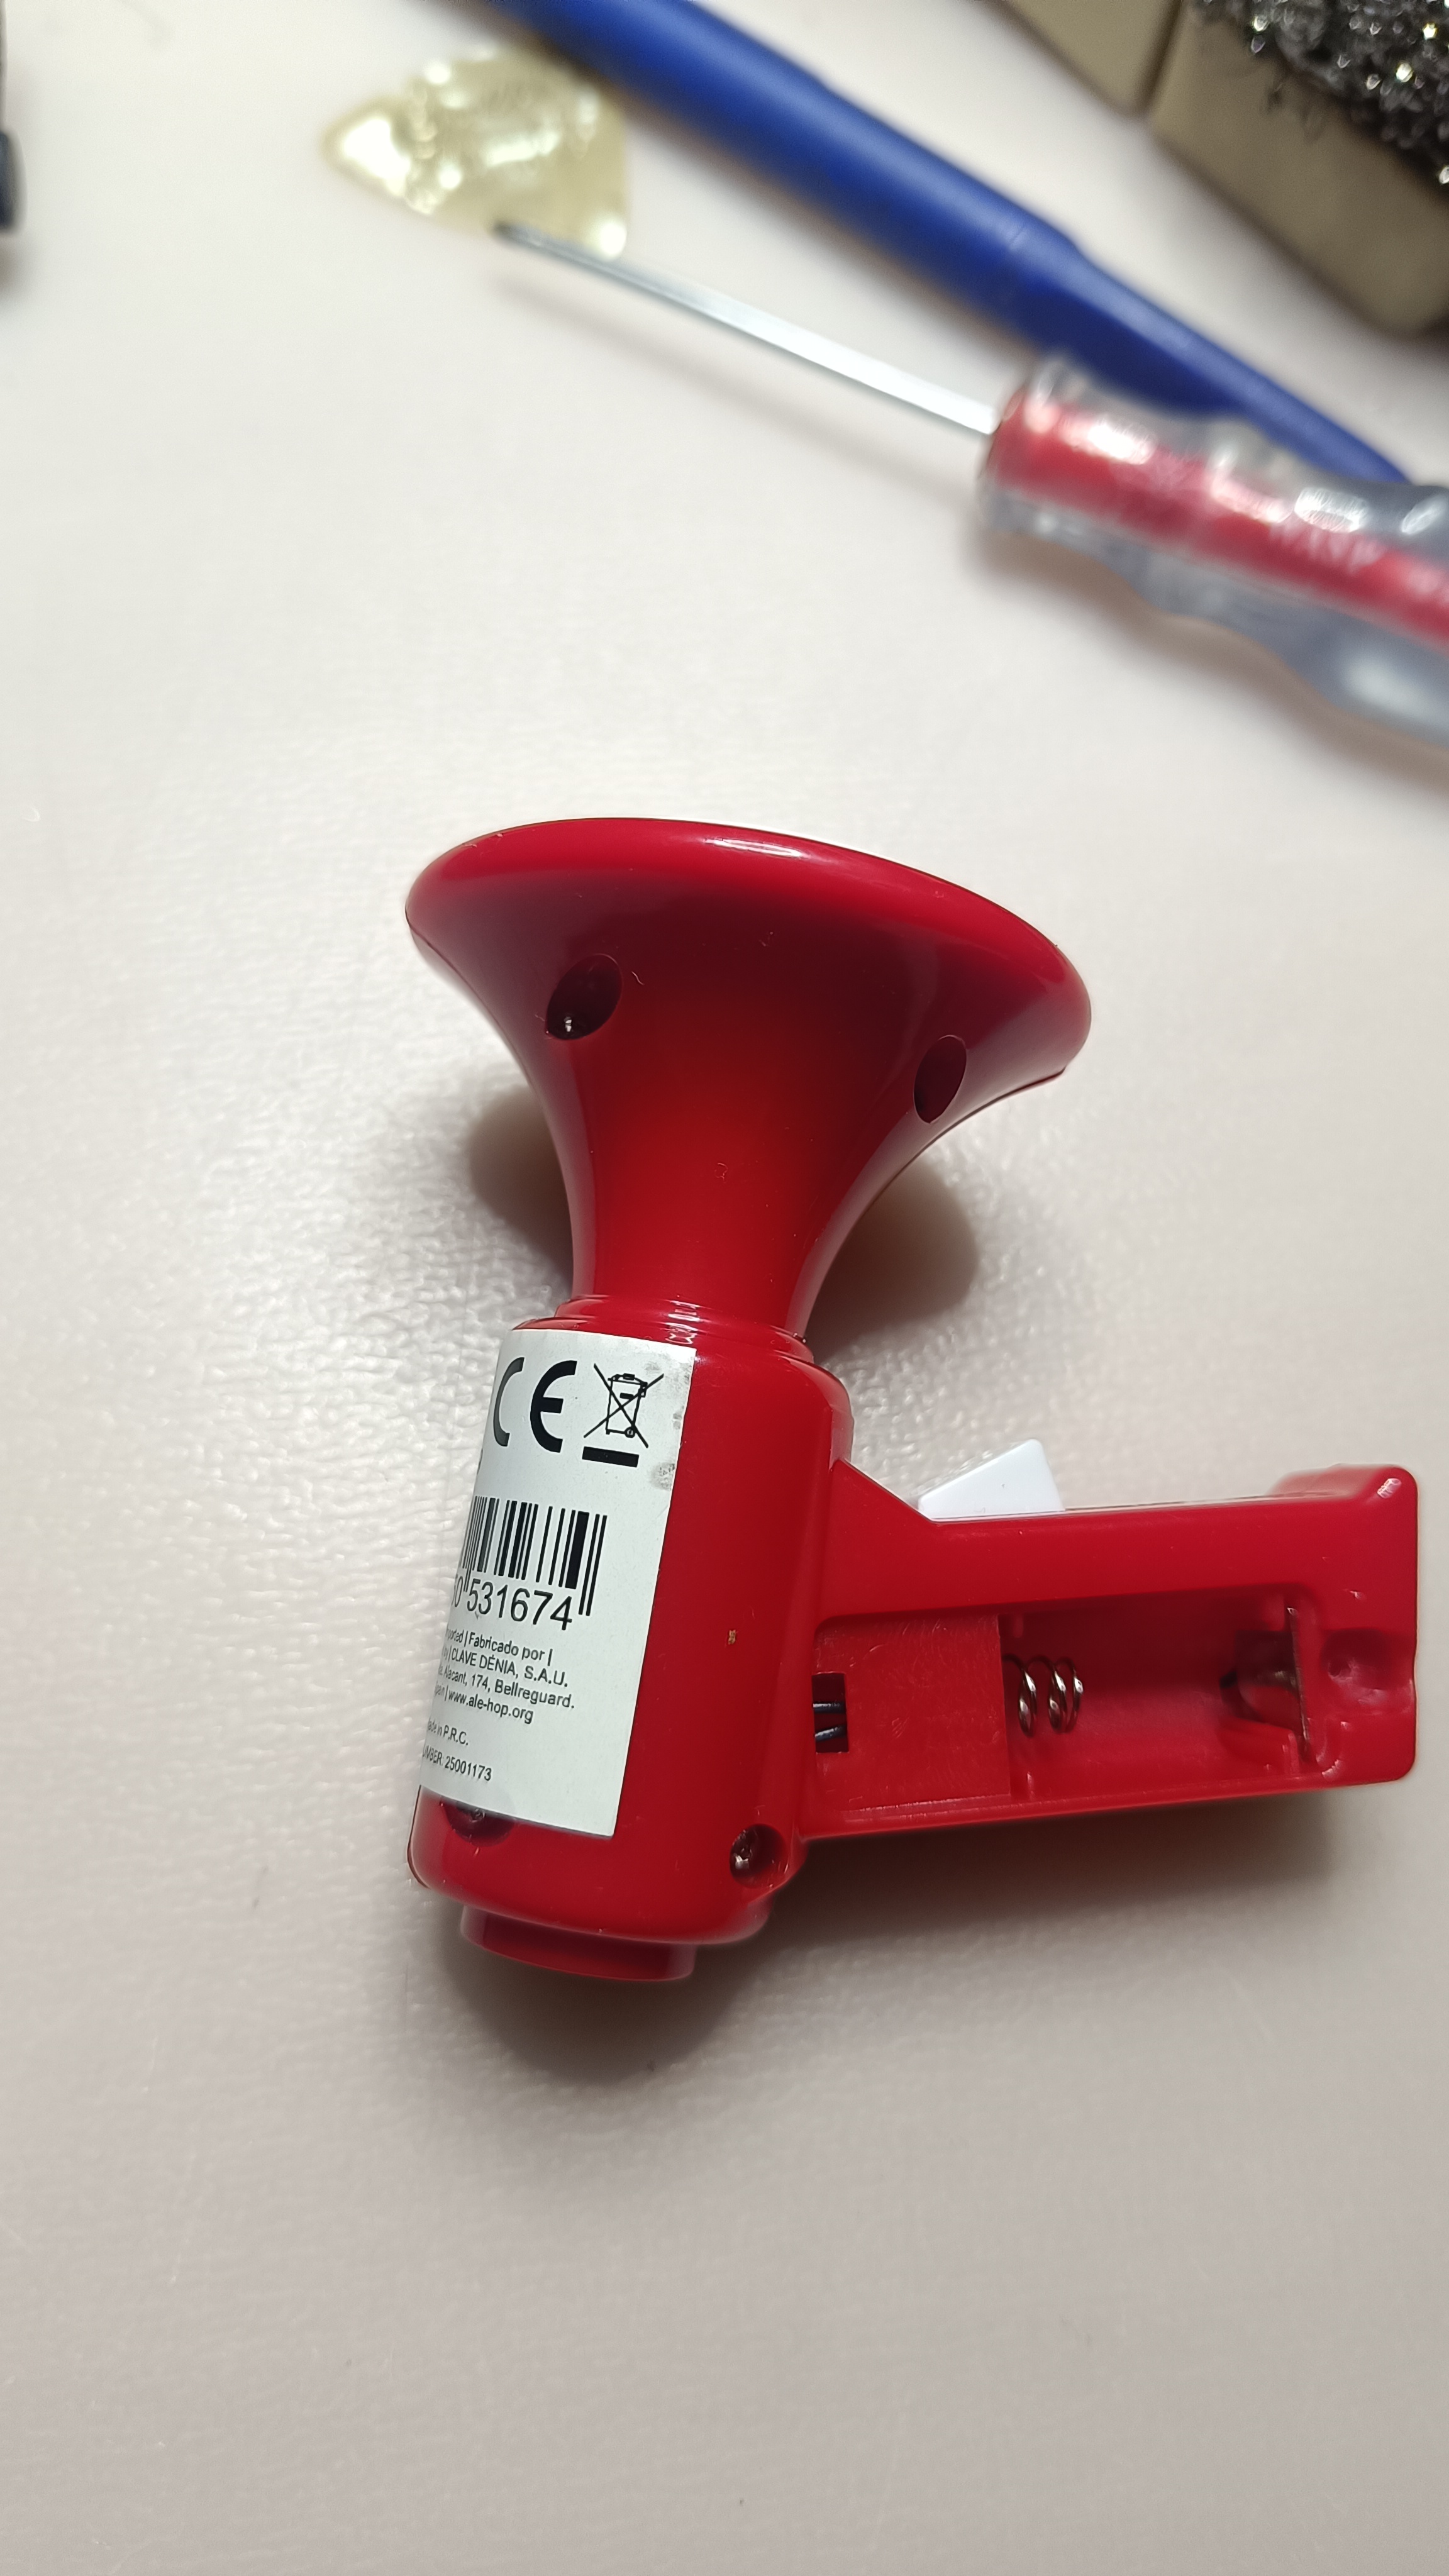
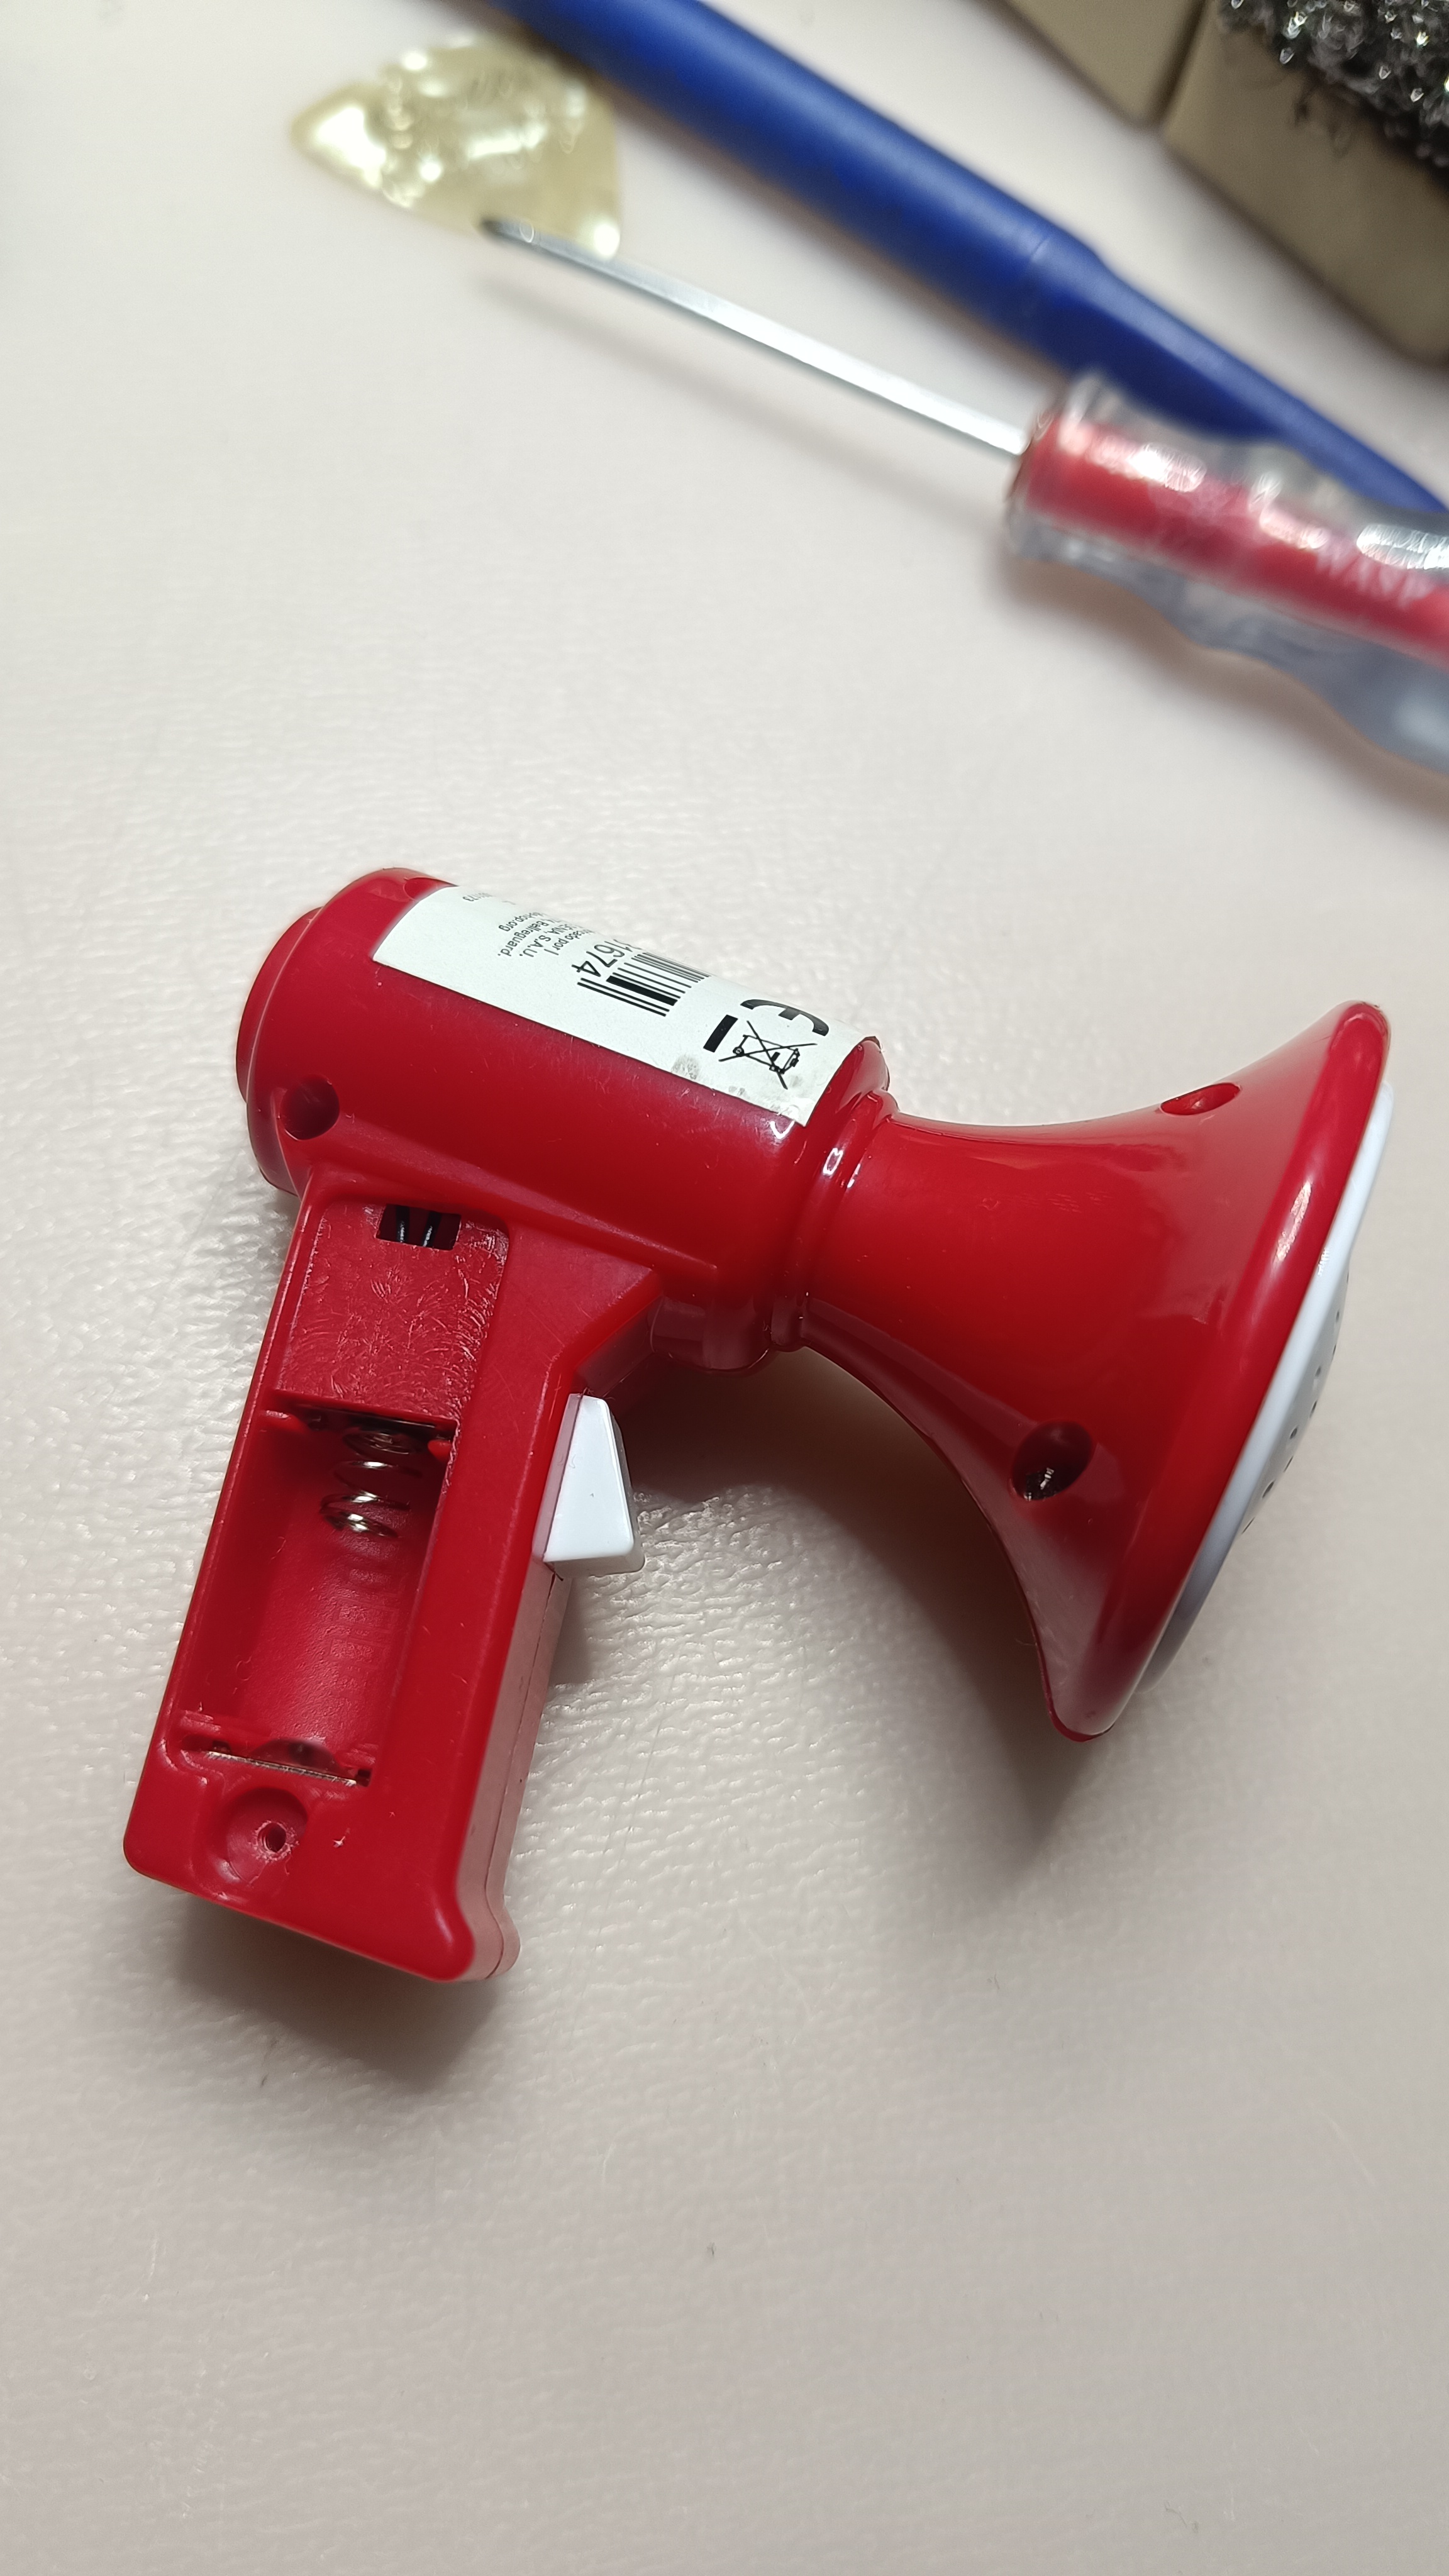
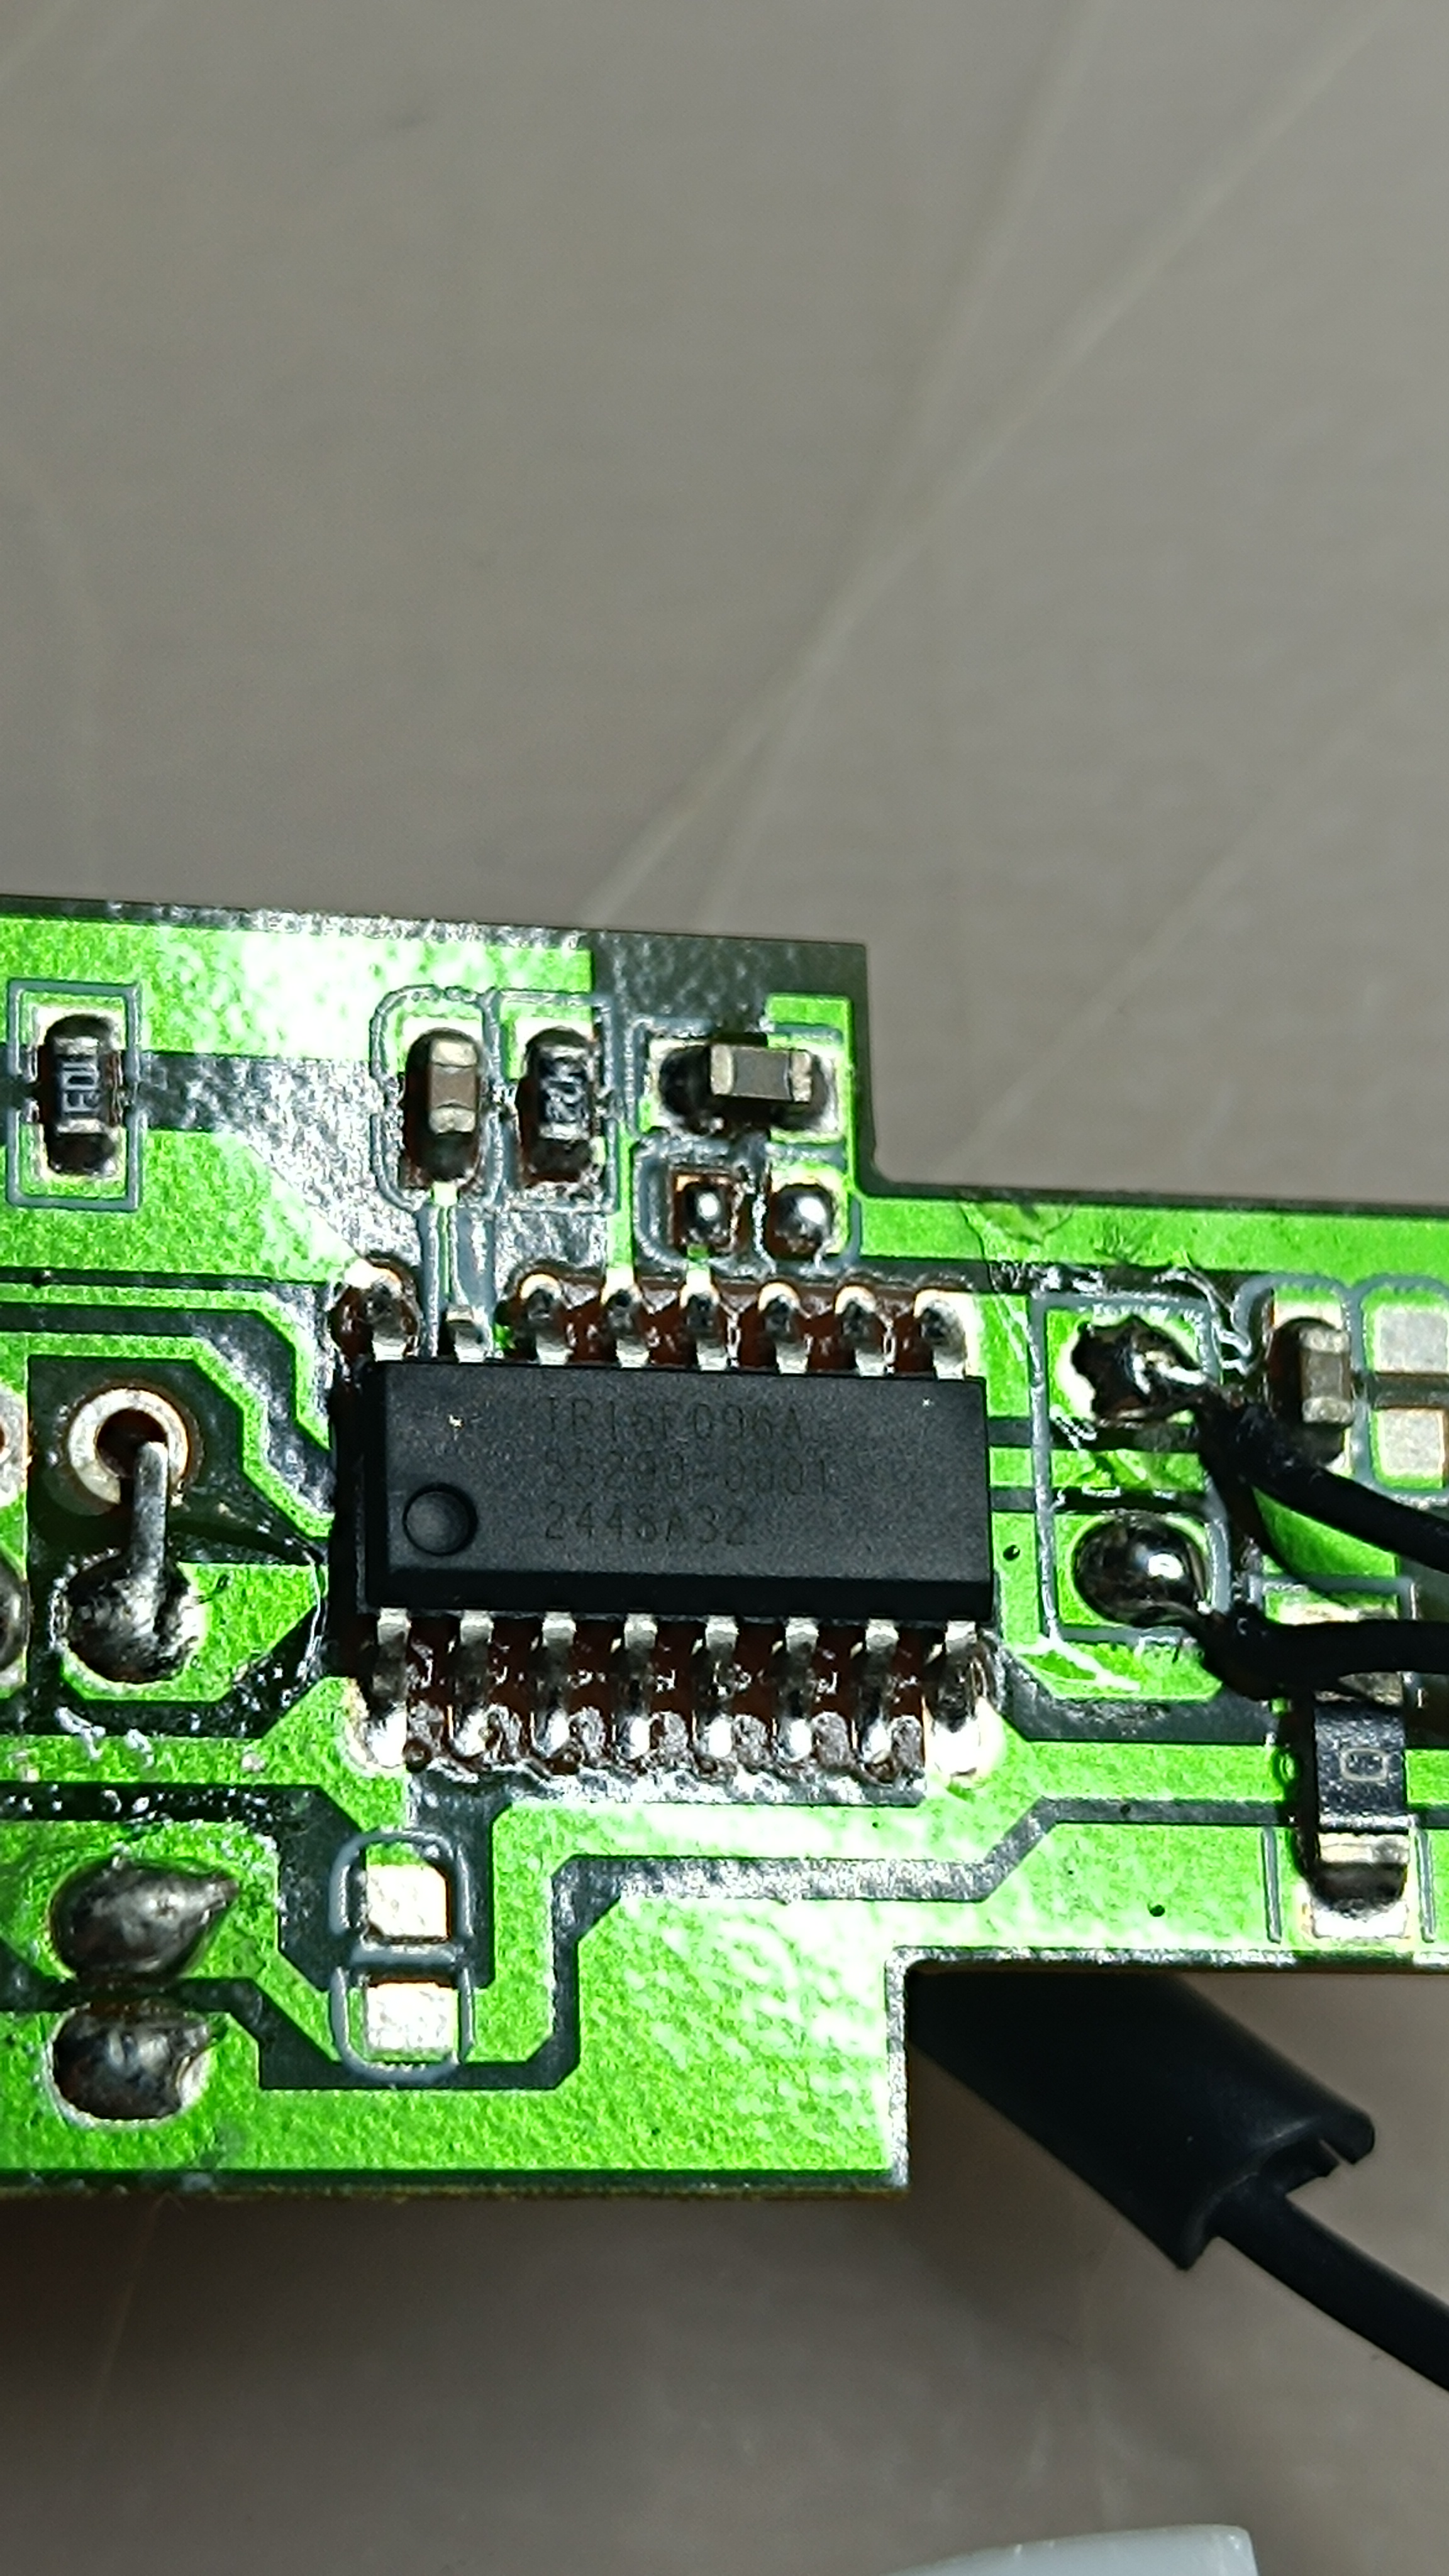
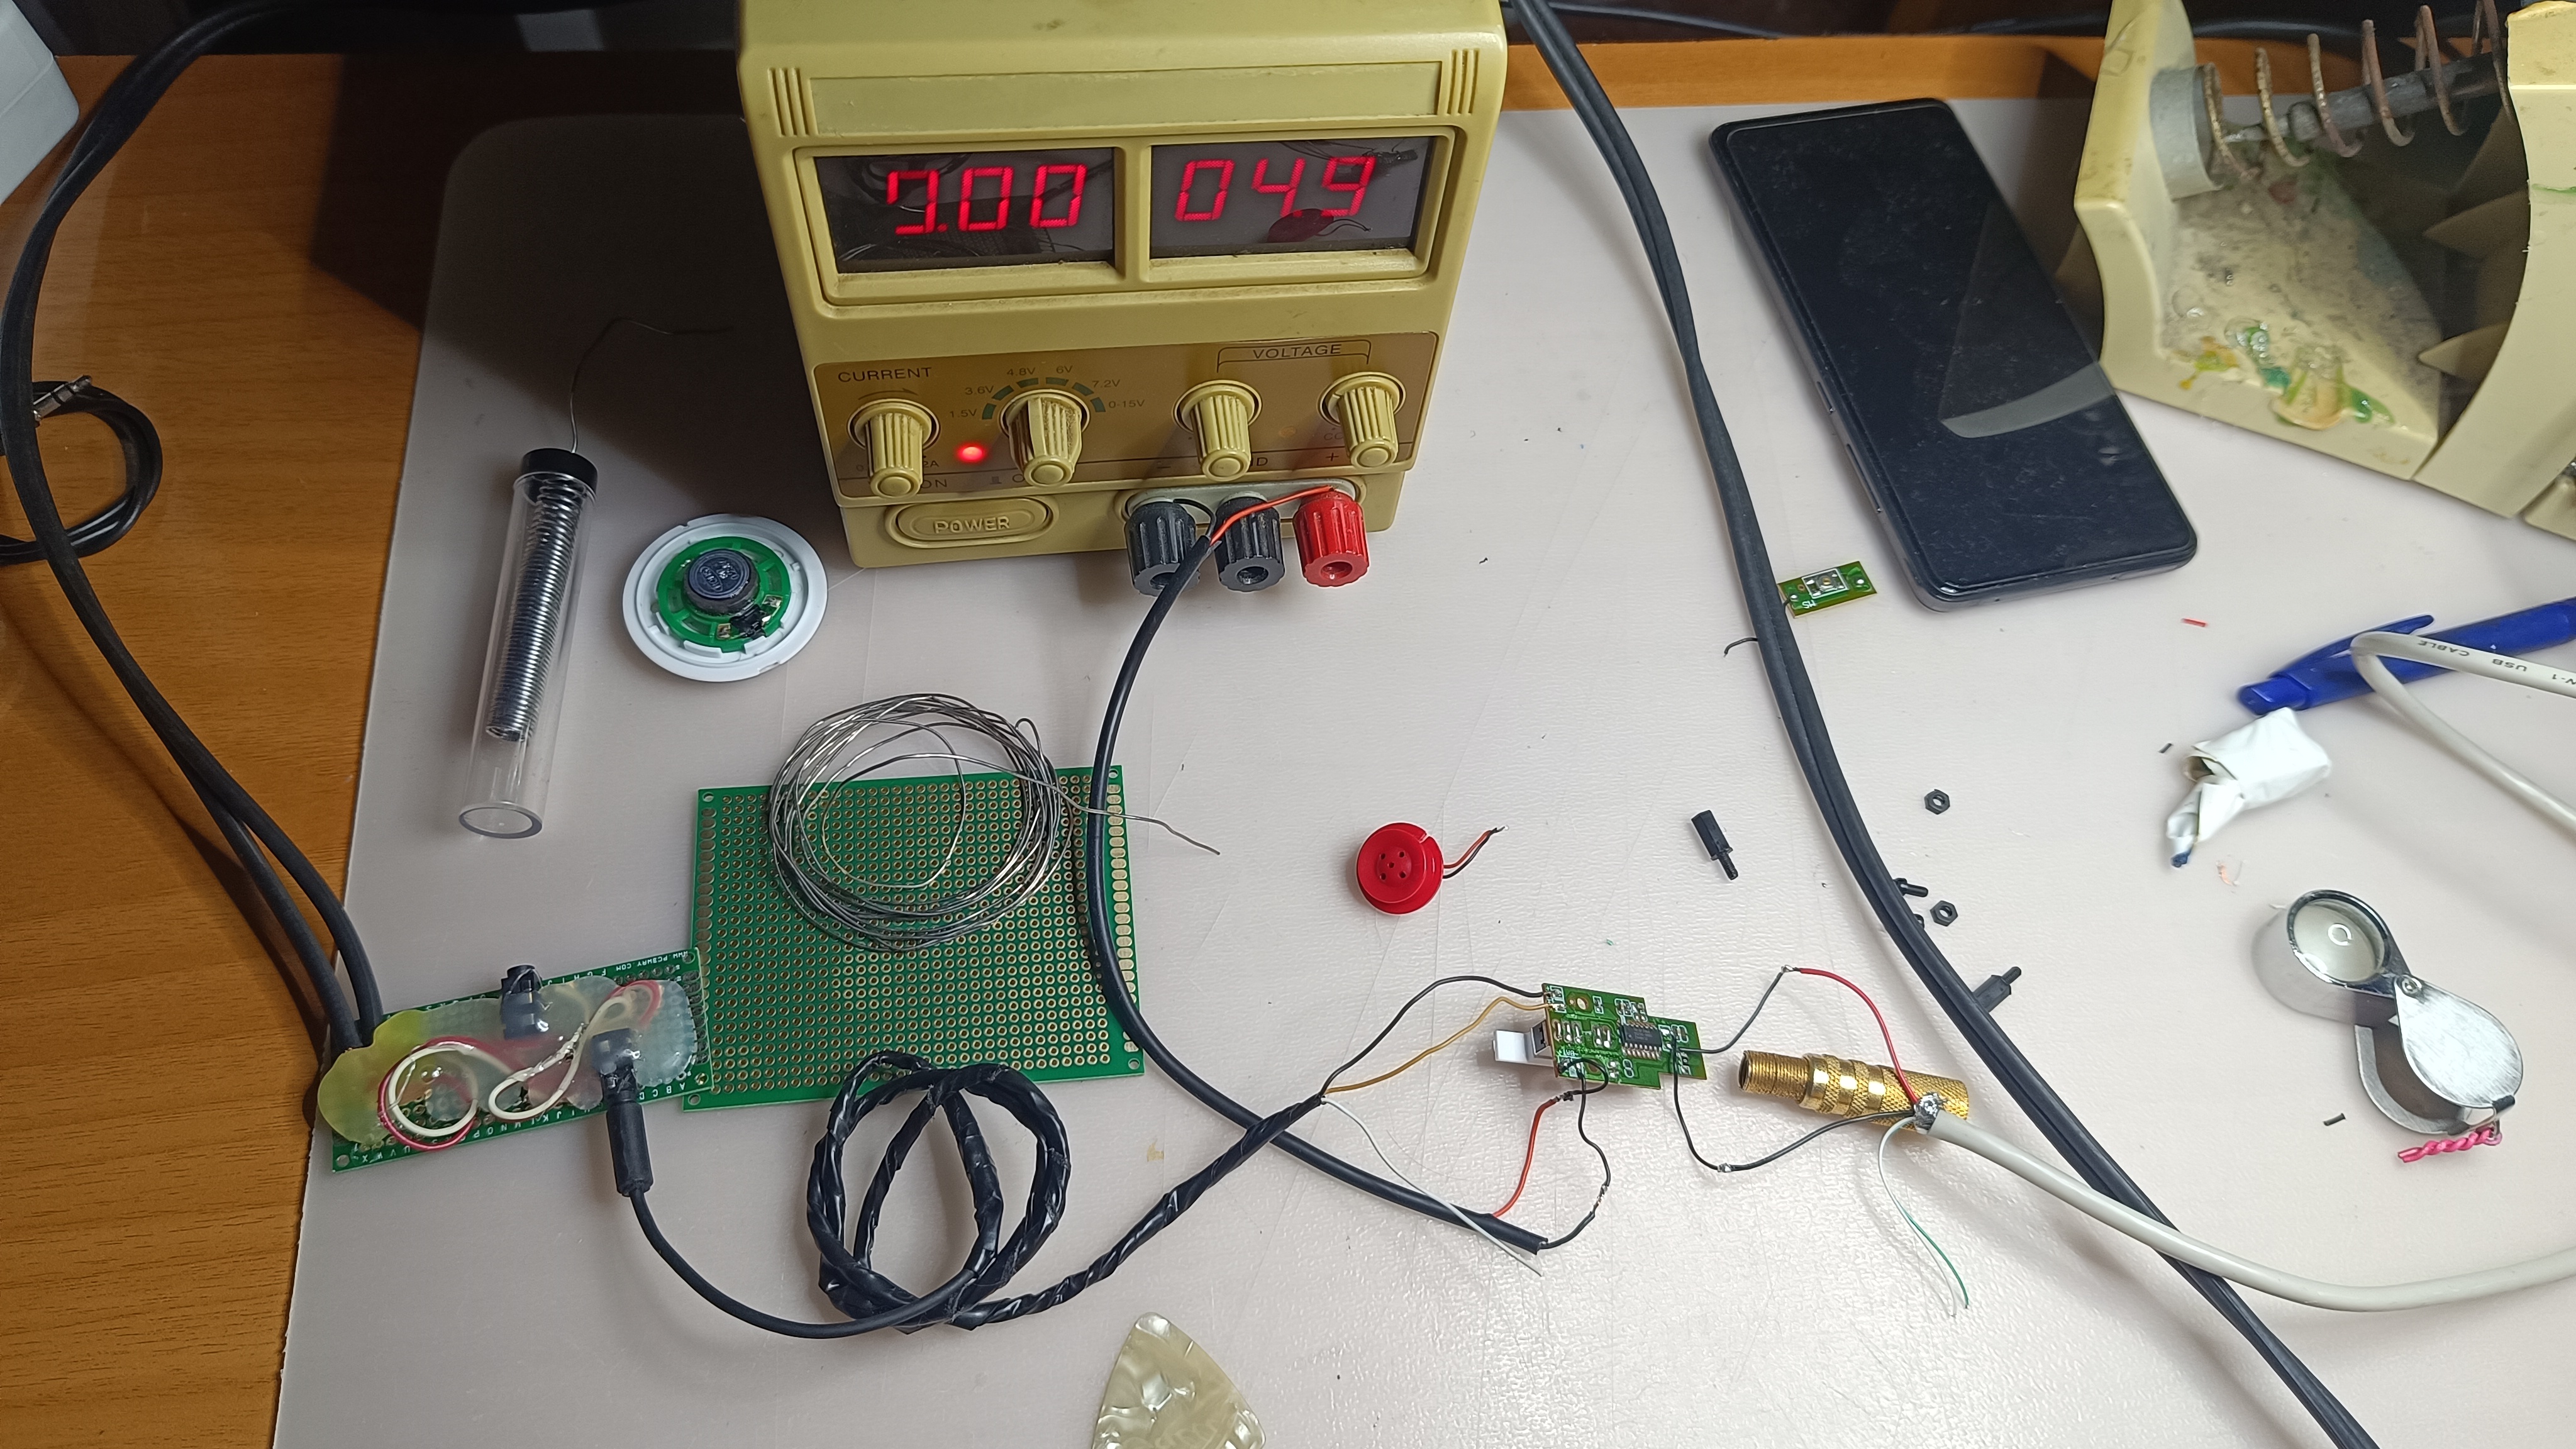
I modified a toy megaphone to create a distortion effect for a guitar

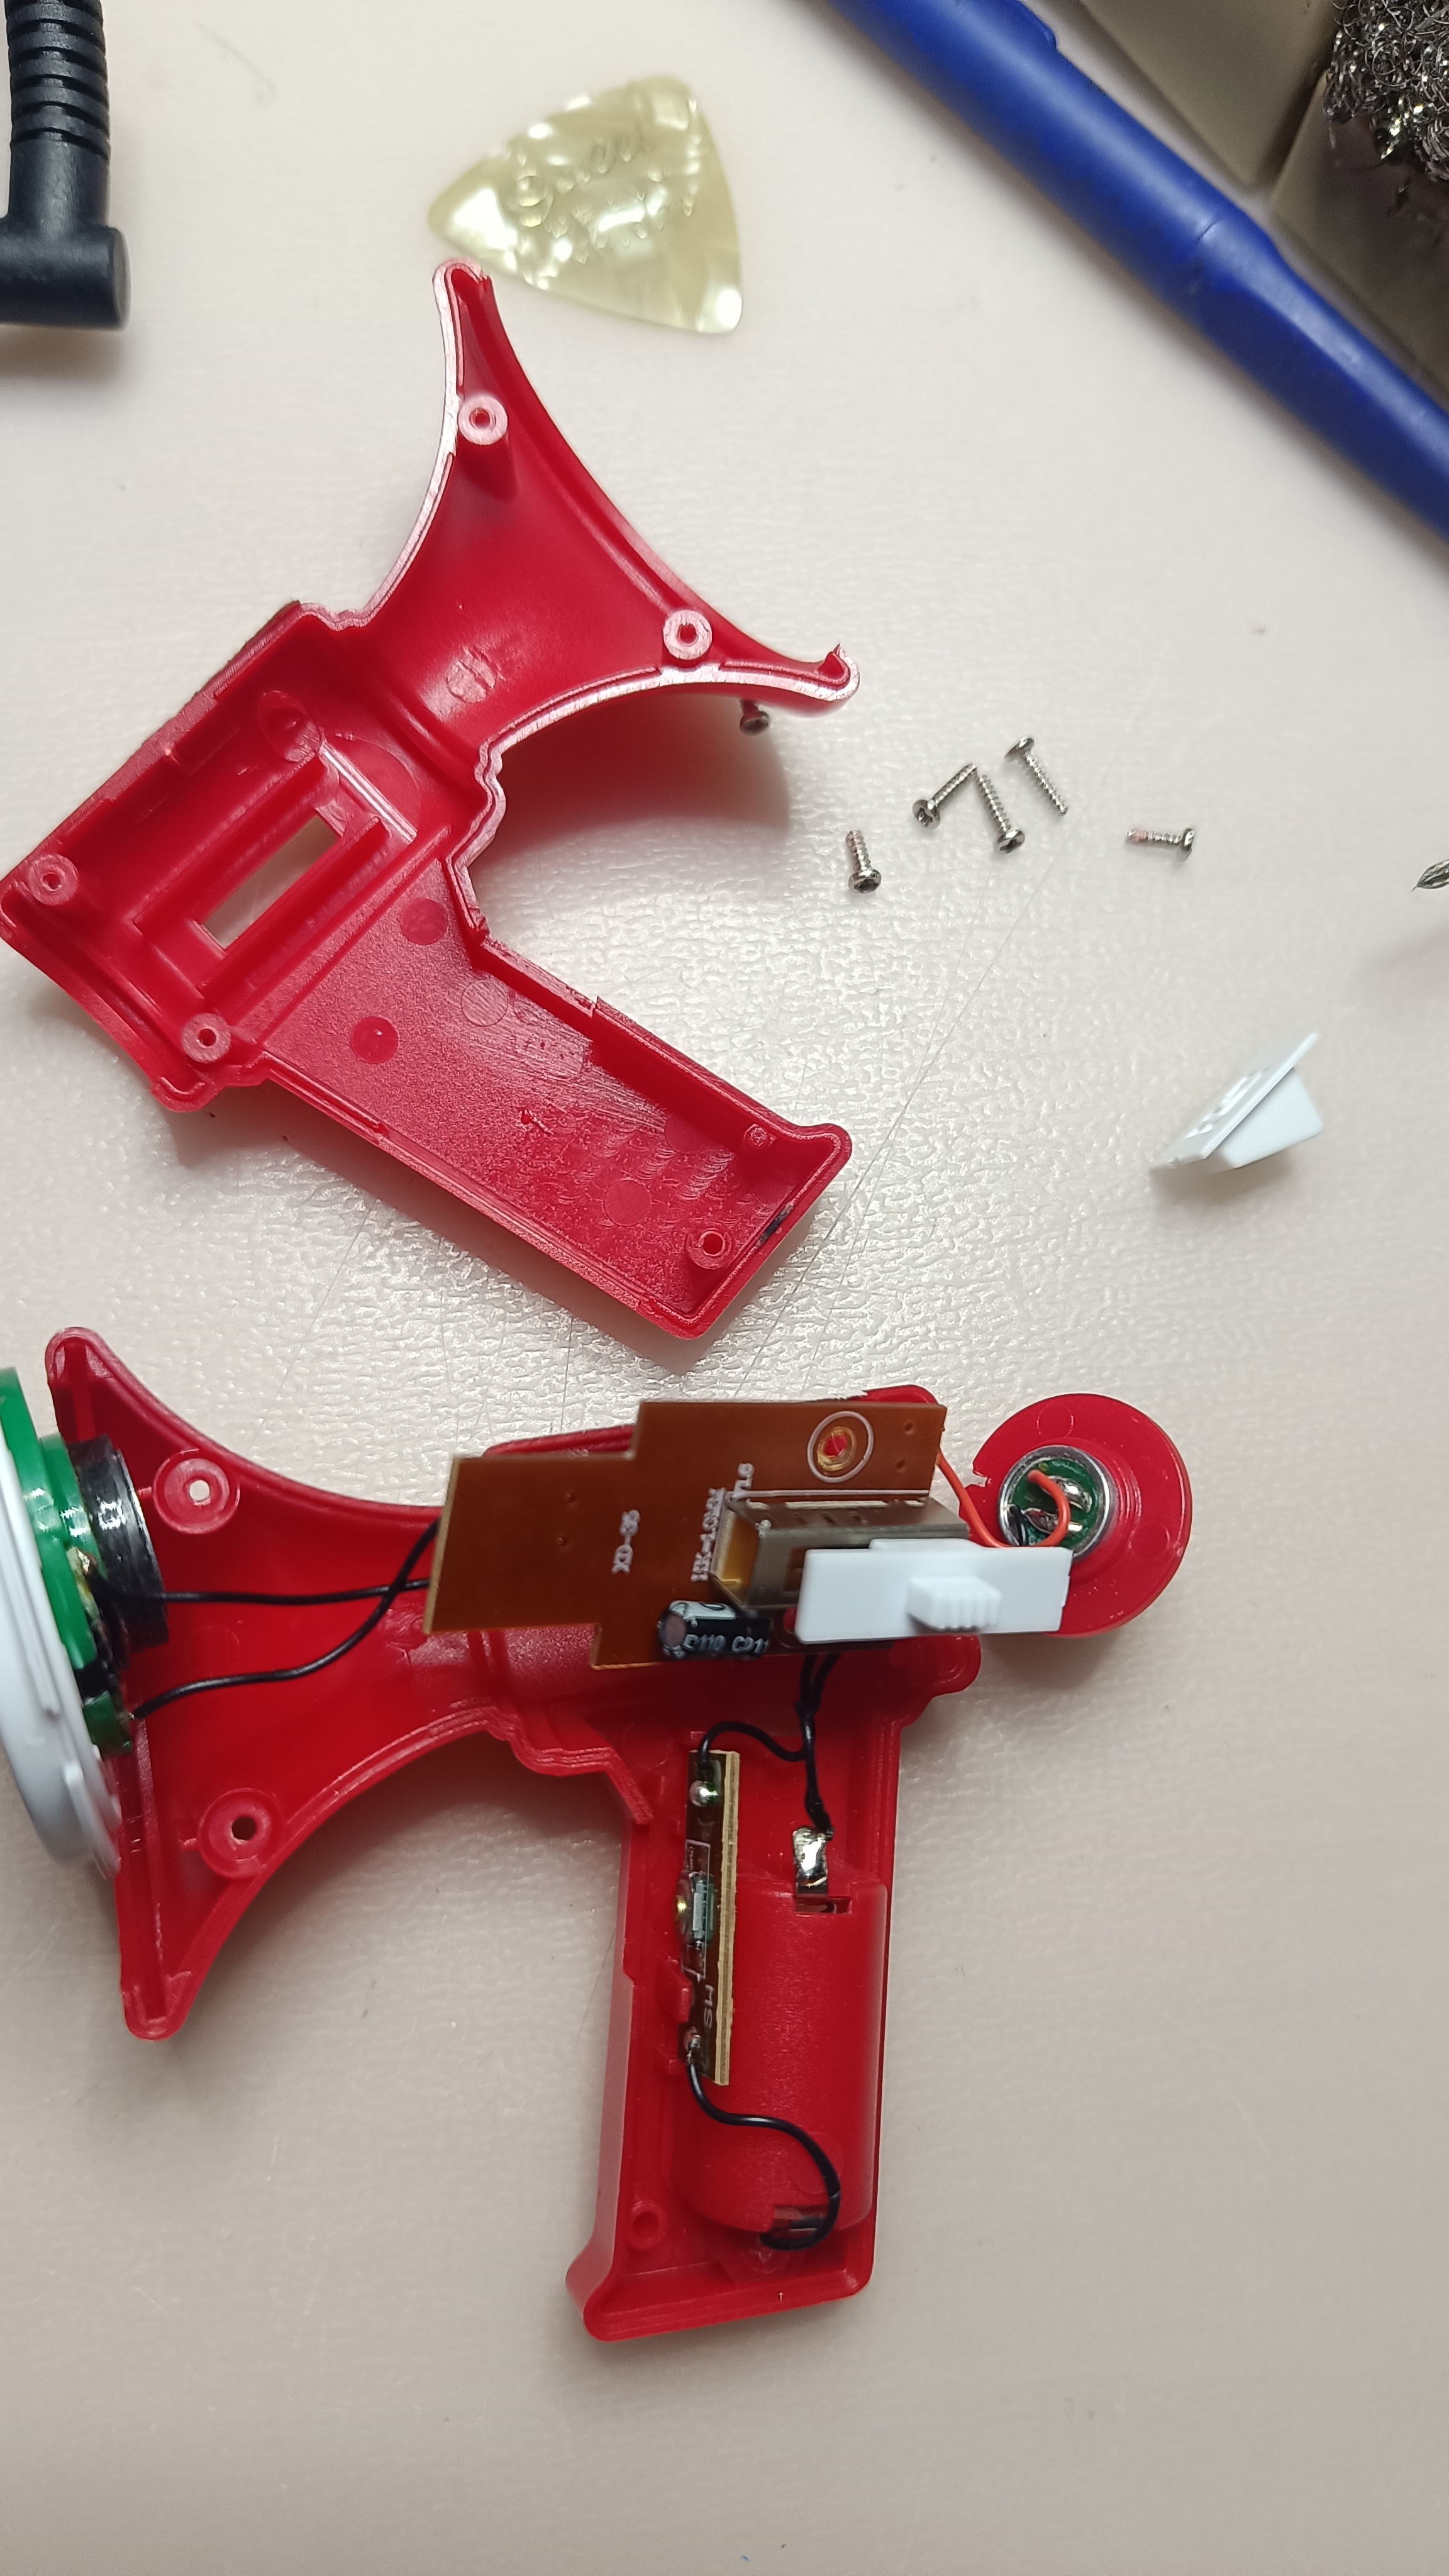
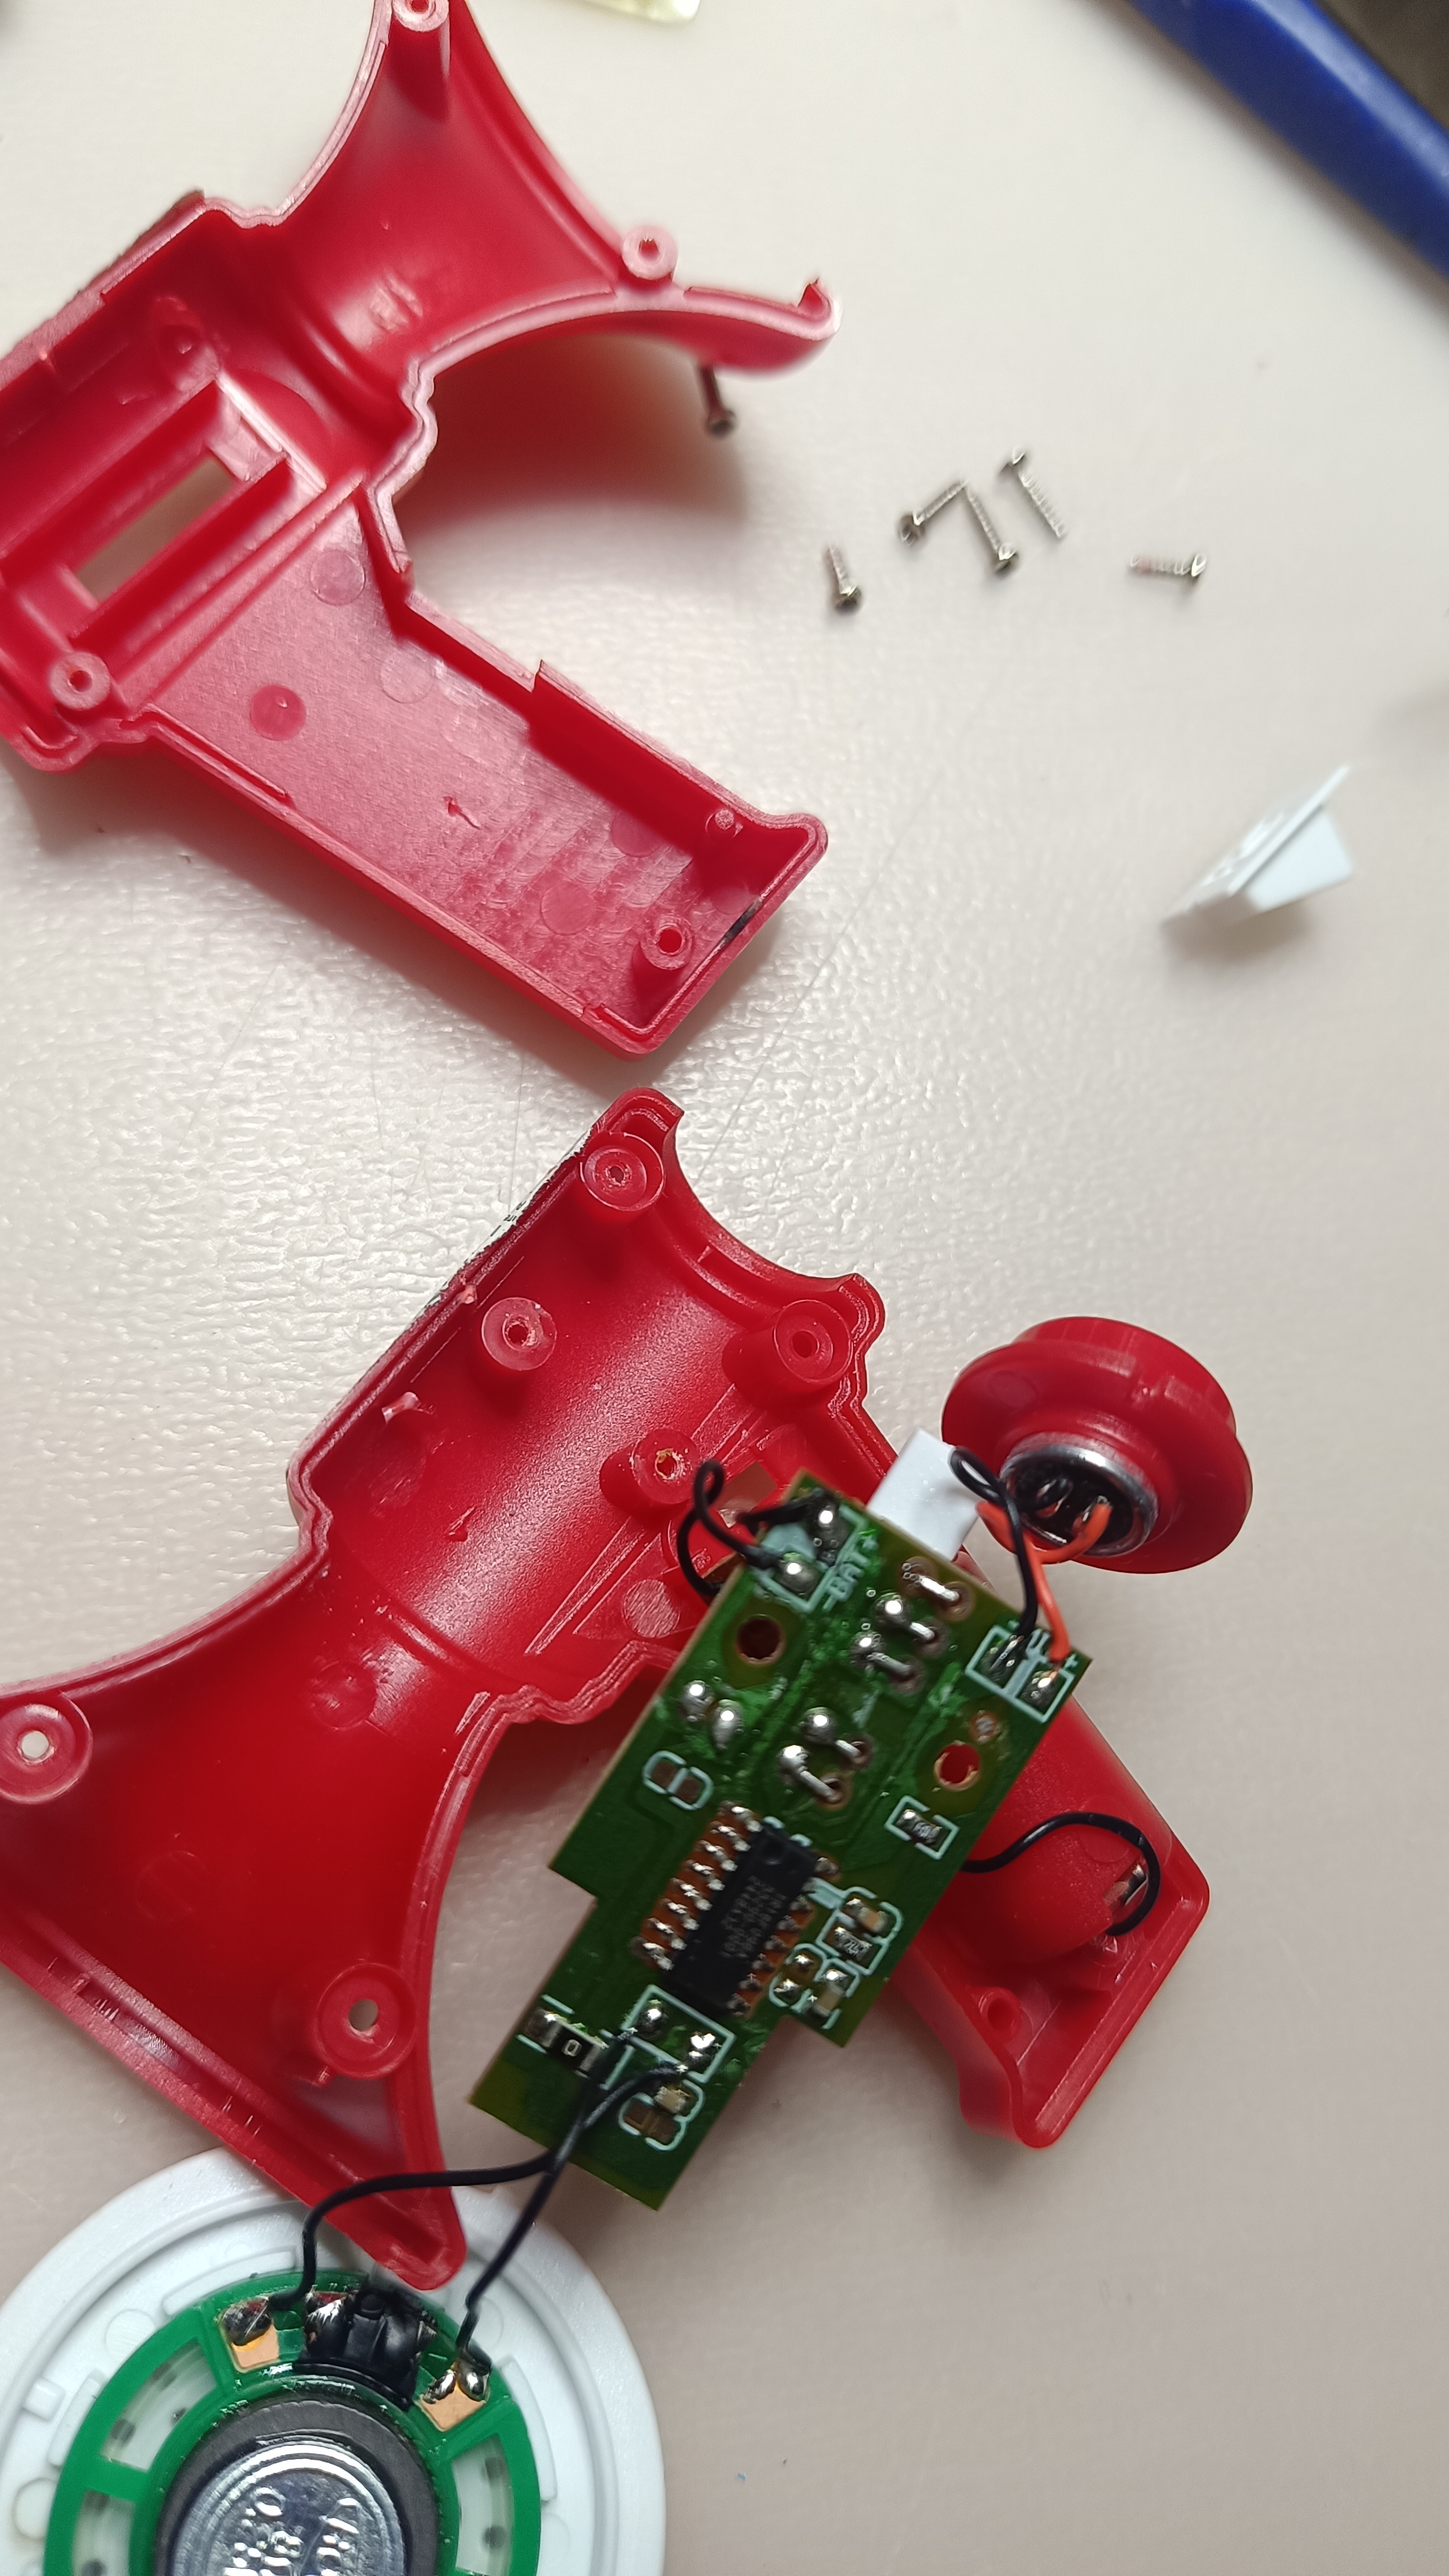
Toy megaphone hack 1 Toy megaphone hack 2 Toy megaphone hack 3 Toy megaphone hack 4 Toy megaphone hack 5 Toy megaphone hack 6

Some time ago, I bought a small toy megaphone from a gadget store, thinking that sooner or later I would find a use for it.

While cleaning up my drawers, I came across it again and immediately decided to take it apart to see how it was built inside.

After opening it, I desoldered the microphone and replaced it with a guitar jack connector. Then, I connected the speaker output to the input of an amplified speaker.

The result was surprisingly effective: it worked really well, as shown in the video below.

In the next steps, I will further explore the possibility of shaping the sound by modifying the frequency response, experimenting with additional resistors and capacitors. I will update the blog with new results.

First Approach: Python Sketches and MIDI Effects

In this first attempt, I created an HTML page with JavaScript that reacts to the keys of the MIDI keyboard, creating different visual shapes and patterns. The page background also interacts with the audio, changing shades and intensity according to the sound.

At the same time, I developed 5 different Python sketches, each with different audio effects saved in .wav format. To simplify launching them, I created a .bat file that runs all 5 sketches simultaneously.

Required setup: LoopMIDI to create virtual MIDI ports, MIDIOX to create bridges between the MIDI keyboard and all virtual ports, and OBS Studio to record videos of the experiments.

Each sketch produces different sounds and visual shapes, allowing experimentation with the synergy between music and interactive graphics controlled by the MIDI keyboard.

HTML Reaction Page

<!DOCTYPE html>
<html lang="it">
<head>
<meta charset="UTF-8">
<meta name="viewport" content="width=device-width, initial-scale=1.0">
<title>Audio Reactive Effects</title>
<style>
  html, body {
    margin:0; padding:0;
    height:100%; width:100%;
    overflow:hidden;
    background:black;
    transition: background-color 0.01s linear;
  }

  canvas {
    position:absolute;
    top:0;
    left:0;
  }

  #log {
    position: fixed;
    top: 10px;
    right: 10px;
    width: 220px;
    max-height: 300px;
    overflow-y: auto;
    background: rgba(0,0,0,0.6);
    color: white;
    font-family: monospace;
    font-size: 14px;
    padding: 10px;
    border-radius: 8px;
  }
</style>
</head>
<body>
<canvas id="canvas"></canvas>
<div id="log"></div>

<script>
// Your HTML audio reactive JavaScript code here
</script>
</body>
</html>

Python Sketch for Drums Effect

import pygame
import pygame.midi
import time
import mido

WAV_FILE = "./loopdrum.wav"
bpmg = "./128bpmg.wav"
bpmb = "./130-bpmb.wav"

NOTE_40 = 40
NOTE_36 = 36

bpm = 132
beat_interval = 60 / bpm

NOTE_41 = 41
NOTE_37 = 37

NOTE_42 = 42
NOTE_38 = 38

pygame.mixer.init()
drum = pygame.mixer.Sound(WAV_FILE)
bpmg = pygame.mixer.Sound(bpmg)
bpmb = pygame.mixer.Sound(bpmb)

pygame.midi.init()

midi_input = pygame.midi.Input(15)

print("Press note 40 to play, release note 40 to stop")

try:
    while True:
        if midi_input.poll():
            events = midi_input.read(10)
            for e in events:
                data = e[0]
                status = data[0] & 0xF0
                note = data[1]
                velocity = data[2]

                if note == NOTE_40:
                    if status == 0x90 and velocity > 0:
                        drum.play()
                    elif status == 0x80 or (status == 0x90 and velocity == 0):
                        drum.stop()

                if note == NOTE_36:
                    if status == 0x90 and velocity > 0:
                        drum.play(loops=-1)

                if note == NOTE_41:
                    if status == 0x90 and velocity > 0:
                        bpmg.play()
                    elif status == 0x80 or (status == 0x90 and velocity == 0):
                        bpmg.stop()

                if note == NOTE_37:
                    if status == 0x90 and velocity > 0:
                        bpmg.play(loops=-1)

                if note == NOTE_42:
                    if status == 0x90 and velocity > 0:
                        bpmb.play()
                    elif status == 0x80 or (status == 0x90 and velocity == 0):
                        bpmb.stop()

                if note == NOTE_38:
                    if status == 0x90 and velocity > 0:
                        bpmb.play(loops=-1)

except KeyboardInterrupt:
    midi_input.close()
    pygame.midi.quit()
    pygame.mixer.music.stop()
    print("Terminated.")

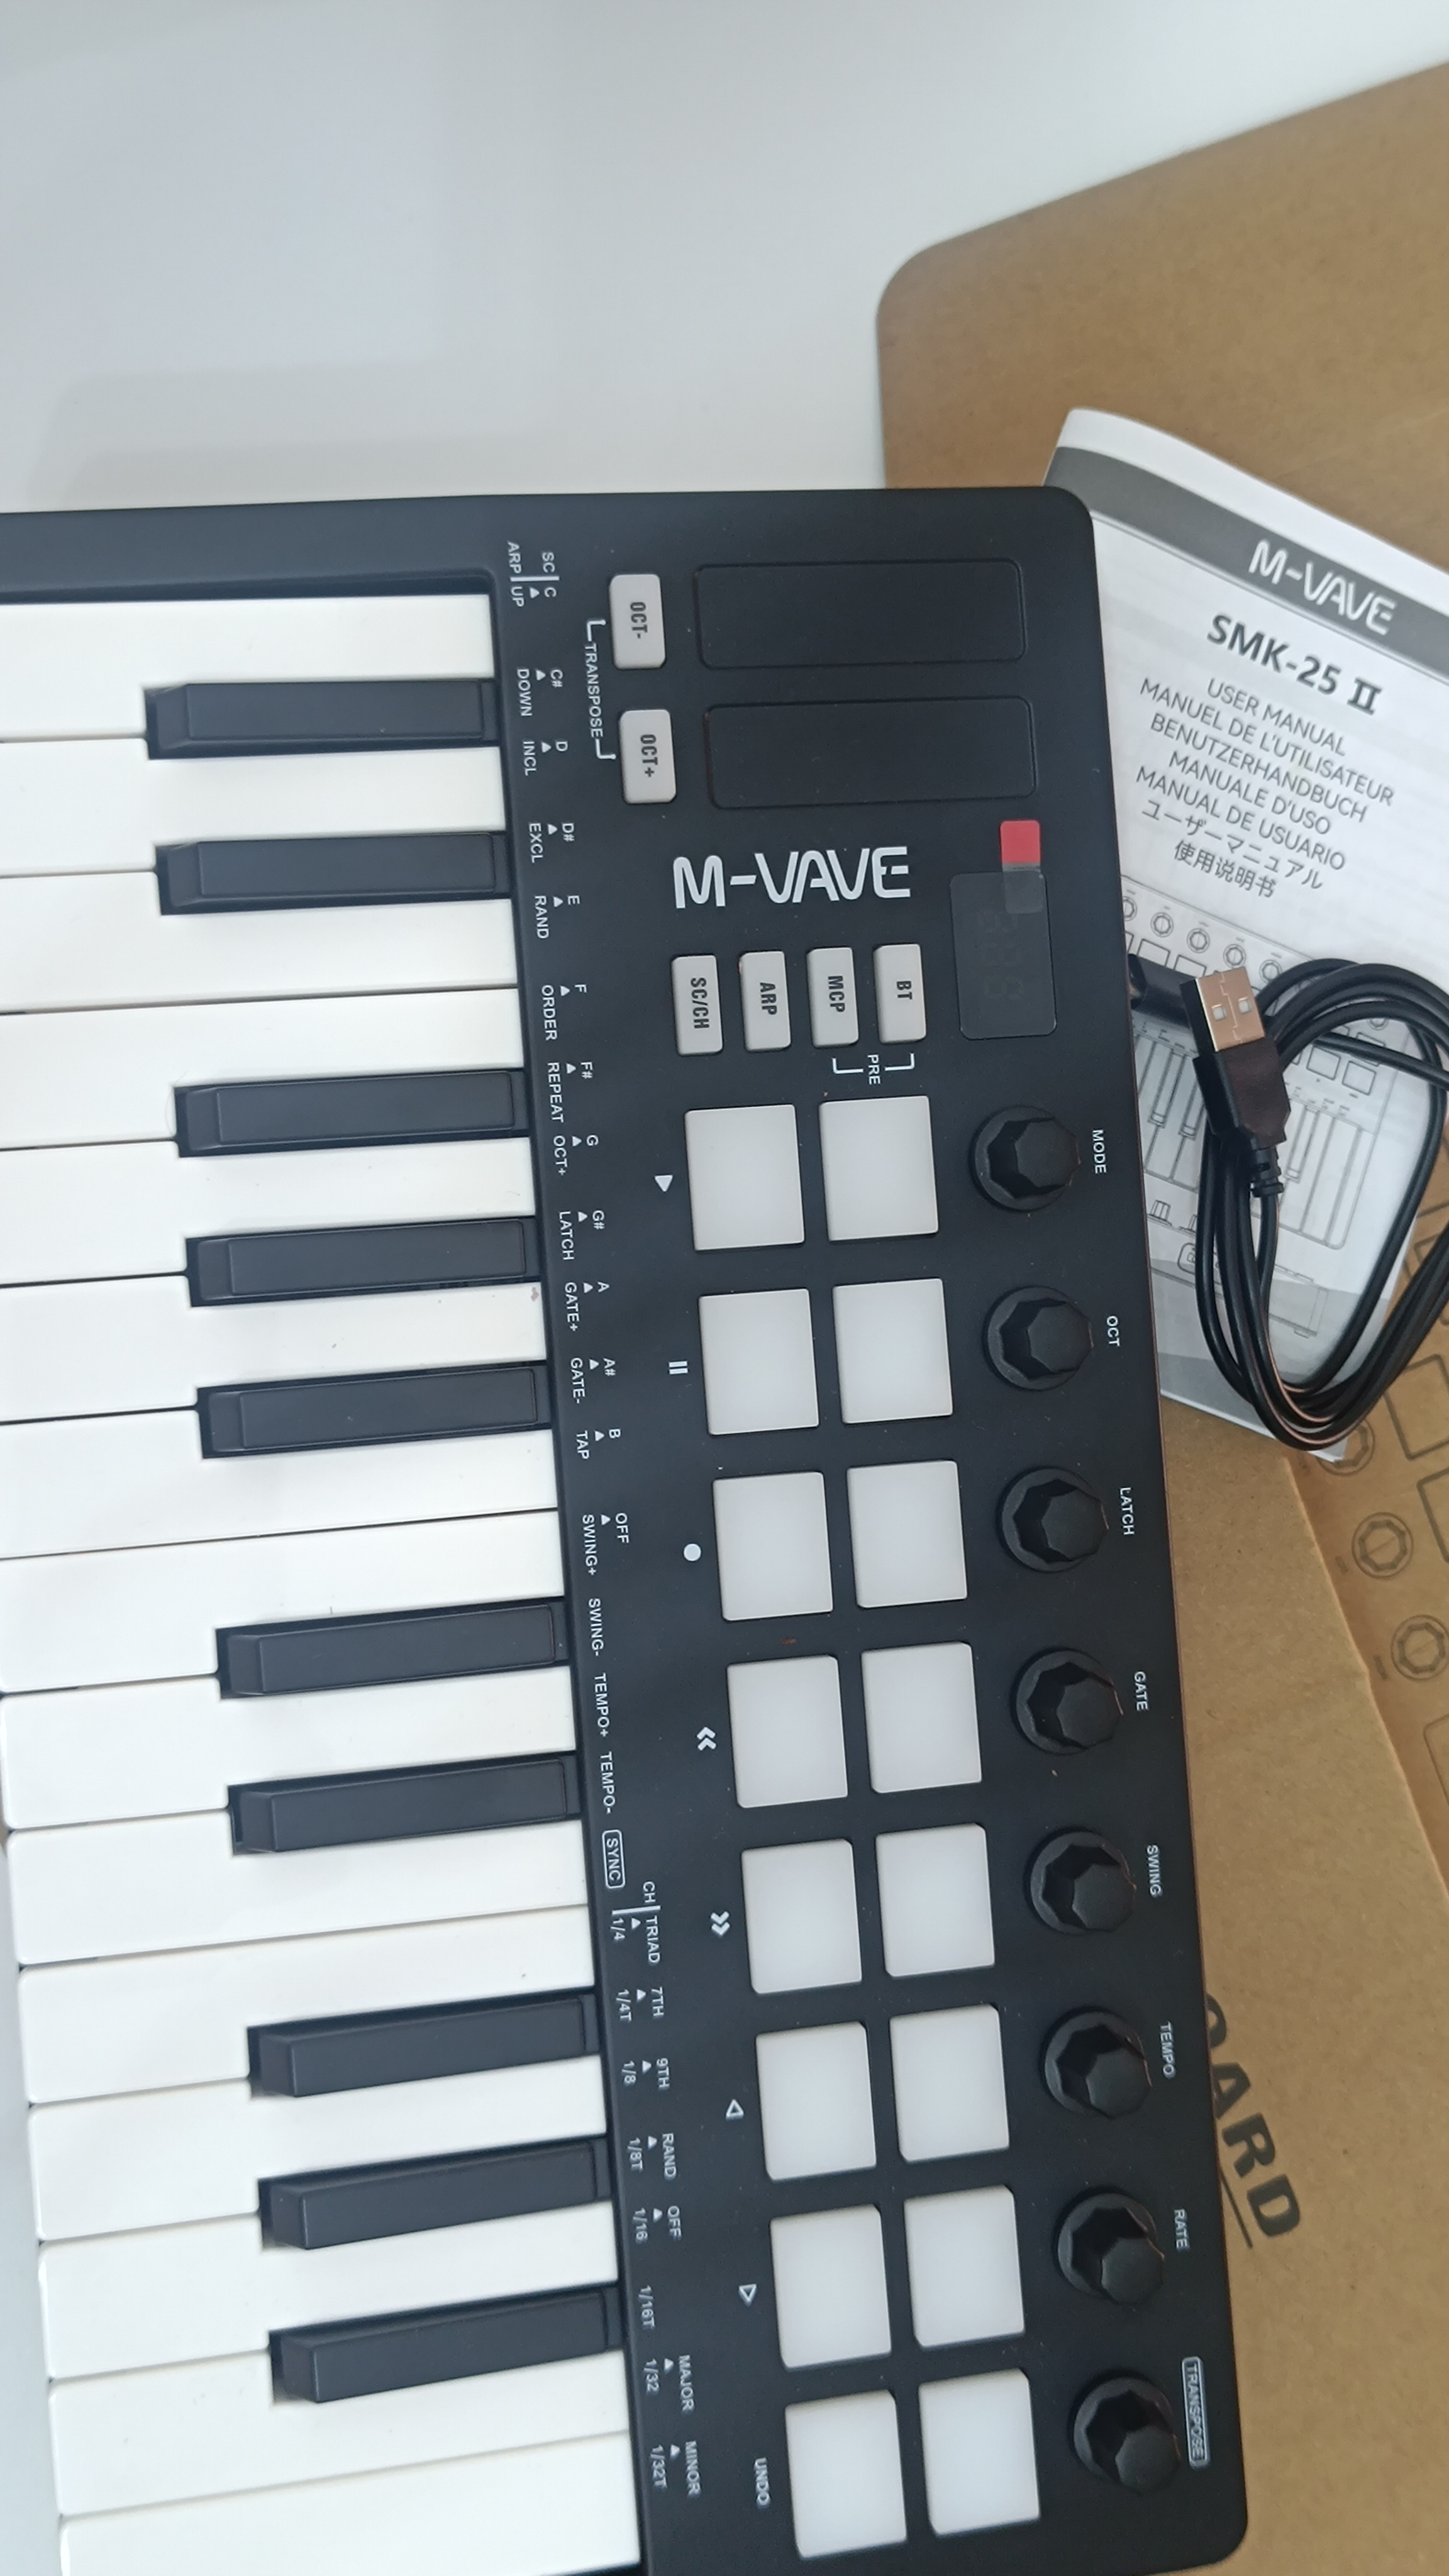
Midi Keyboard M-VAVE SMK-25II

MIDI Keyboard Setup

After purchasing a MIDI keyboard on AliExpress, I tried to get it working with the manufacturer’s pre-installed software. However, I soon realized that I had to follow specific guidelines described by the product or software manufacturers.

At this point, I thought that the MIDI keyboard could become much more flexible if connected to Python or JavaScript scripts, allowing me to trigger any predefined function and gain full control of the synth.

In this blog, I will describe each experiment carried out with various sketches, showing how to play audio samples from any key on the MIDI keyboard or from any non-MIDI keyboard.

WoodSynth Homemade

Before continuing with the MIDI keyboard, I would like to briefly introduce my first experiment: the construction of a synth that I used on a Raspberry Pi with a couple of Python sketches to synthesize effects.

In the video below, you can also see the circuitry I assembled, adding resistors of different values to the switches to change the sampling frequencies, along with potentiometers simulating variable resistances.

I will return to this topic later; in the coming days, I will continue describing the Python files I used to assign audio to the MIDI buttons of the M-VAVE MIDI keyboard.